
by Joche Ojeda | Mar 11, 2025 | http, MAUI, Xamarin
When developing cross-platform mobile applications with .NET MAUI (or previously Xamarin), you may encounter situations where your app works perfectly with public APIs but fails when connecting to internal network services. These issues often stem from HTTP client implementation differences, certificate validation, and TLS compatibility. This article explores how to identify, troubleshoot, and resolve these common networking challenges.
Understanding HTTP Client Options in MAUI/Xamarin
In the MAUI/.NET ecosystem, developers have access to two primary HTTP client implementations:
1. Managed HttpClient (Microsoft’s implementation)
- Cross-platform implementation built into .NET
- Consistent behavior across different operating systems
- May handle SSL/TLS differently than platform-native implementations
- Uses the .NET certificate validation system
2. Native HttpClient (Android’s implementation)
- Leverages the platform’s native networking stack
- Typically offers better performance on the specific platform
- Uses the device’s system certificate trust store
- Follows platform-specific security policies and restrictions
Switching Between Native and Managed HttpClient
In MAUI Applications
MAUI provides a flexible handler registration system that lets you explicitly choose which implementation to use:
// In your MauiProgram.cs
public static MauiApp CreateMauiApp()
{
    var builder = MauiApp.CreateBuilder();
    builder
        .UseMauiApp<App>()
        .ConfigureMauiHandlers(handlers =>
        {
            // Use the managed implementation (Microsoft's .NET HttpClient)
            handlers.AddHandler(typeof(HttpClient), typeof(ManagedHttpMessageHandler));

            // OR use the native implementation (platform-specific)
            // handlers.AddHandler(typeof(HttpClient), typeof(PlatformHttpMessageHandler));
        });

    return builder.Build();
}
In Xamarin.Forms Legacy Applications
For Xamarin.Forms applications, set this in your platform-specific initialization code:
// In MainActivity.cs (Android) or AppDelegate.cs (iOS)
HttpClientHandler.UseNativePlatformHandler = false; // Use managed handler
// OR
HttpClientHandler.UseNativePlatformHandler = true;  // Use native handler
Creating Specific Client Instances
You can also explicitly create HttpClient instances with specific handlers when needed:
// Use the managed handler
var managedHandler = new HttpClientHandler();
var managedClient = new HttpClient(managedHandler);

// Use the native handler (with DependencyService in Xamarin)
var nativeHandler = DependencyService.Get<INativeHttpClientHandler>();
var nativeClient = new HttpClient(nativeHandler);
Using HttpClientFactory (Recommended for MAUI)
For better control, testability, and lifecycle management, consider using HttpClientFactory:
// In your MauiProgram.cs
builder.Services.AddHttpClient("ManagedClient", client => {
    client.BaseAddress = new Uri("https://your.api.url/");
})
.ConfigurePrimaryHttpMessageHandler(() => new SocketsHttpHandler());

// Then inject and use it in your services
public class MyApiService
{
    private readonly HttpClient _client;

    public MyApiService(IHttpClientFactory clientFactory)
    {
        _client = clientFactory.CreateClient("ManagedClient");
    }
}
Common Issues and Troubleshooting
1. Self-Signed Certificates
Internal APIs often use self-signed certificates that aren’t trusted by default. Here’s how to handle them:
// Option 1: Create a custom handler that bypasses certificate validation
// (ONLY for development/testing environments)
var handler = new HttpClientHandler
{
    ServerCertificateCustomValidationCallback = (message, cert, chain, errors) => true
};
var client = new HttpClient(handler);
For production environments, instead of bypassing validation:
- Add your self-signed certificate to the Android trust store
- Configure your app to trust specific certificates
- Generate proper certificates from a trusted Certificate Authority
2. TLS Version Mismatches
Different Android versions support different TLS versions by default:
- Android 4.1-4.4: TLS 1.0 by default
- Android 5.0+: TLS 1.0, 1.1, 1.2
- Android 10+: TLS 1.3 support
If your server requires a specific TLS version:
// Force specific TLS versions
System.Net.ServicePointManager.SecurityProtocol = SecurityProtocolType.Tls12 | SecurityProtocolType.Tls13;
3. Network Configuration
Ensure your app has the proper permissions in the AndroidManifest.xml:
<uses-permission android:name="android.permission.INTERNET" />
<uses-permission android:name="android.permission.ACCESS_NETWORK_STATE" />
For Android 9+ (API level 28+), configure network security:
<!-- Create a network_security_config.xml file in Resources/xml -->
<?xml version="1.0" encoding="utf-8"?>
<network-security-config>
    <domain-config cleartextTrafficPermitted="true">
        <domain includeSubdomains="true">your.internal.domain</domain>
    </domain-config>
</network-security-config>
Then reference it in your AndroidManifest.xml:
<application android:networkSecurityConfig="@xml/network_security_config">
Practical Troubleshooting Steps
- Test with both HTTP client implementationsSwitch between native and managed implementations to isolate whether the issue is specific to one implementation
- Test the API endpoint outside your appUse tools like Postman or curl on the same network
- Enable logging for network calls
// Add this before making requests
HttpClient.DefaultRequestHeaders.TryAddWithoutValidation("User-Agent", "YourApp/1.0");
- Capture and inspect network trafficUse Charles Proxy or Fiddler to inspect the actual requests/responses
- Check certificate information
# On your development machine
openssl s_client -connect your.internal.server:443 -showcerts
- Verify which implementation you’re using
var client = new HttpClient();
var handlerType = client.GetType().GetField("_handler",
    System.Reflection.BindingFlags.Instance |
    System.Reflection.BindingFlags.NonPublic)?.GetValue(client);

Console.WriteLine($"Using handler: {handlerType?.GetType().FullName}");
- Debug specific errors
- For Java.IO.IOException: “Trust anchor for certification path not found” – this means your app doesn’t trust the certificate
- For HttpRequestException with “The SSL connection could not be established” – likely a TLS version mismatch
Conclusion
When your MAUI Android app connects successfully to public APIs but fails with internal network services, the issue often lies with HTTP client implementation differences, certificate validation, or TLS compatibility. By systematically switching between native and managed HTTP clients and applying the troubleshooting techniques outlined above, you can identify and resolve these networking challenges.
Remember that each implementation has its advantages – the native implementation typically offers better performance and follows platform-specific security policies, while the managed implementation provides more consistent cross-platform behavior. Choose the one that best fits your specific requirements and security considerations.
About Us
YouTube
https://www.youtube.com/c/JocheOjedaXAFXAMARINC
Our sites
Let’s discuss your XAF
https://www.udemy.com/course/microsoft-ai-extensions/
Our free A.I courses on Udemy

by Joche Ojeda | Mar 7, 2025 | Uncategorized
This year I decided to learn something new, specifically something UI-related. Usually, I only do back-end type of code. Most of my code has no UI representation, and as you might know, that’s why I love XAF from Developer Express so much—because I don’t have to write a UI. I only have to define the business model and the actions, and then I’m good to go.
But this time, I wanted to challenge myself, so I said, “OK, let’s learn something that is UI-related.” I’ve been using .NET for about 18 years already, so I wanted to branch out while still leveraging my existing knowledge.
I was trying to decide which technology to go with, so I checked with the people in my office (XARI). We have the .NET team, which is like 99% of the people, and then we have one React person and a couple of other developers using different frameworks. They suggested Flutter, and I thought, “Well, maybe.”
I checked the setup and tried to do it on my new Surface computer, but it just didn’t work. Even though Flutter looks fine, moving from .NET (which I’ve been writing since day one in 2002) to Dart is a big challenge. I mean, writing code in any case is a challenge, but I realized that Flutter was so far away from my current infrastructure and setup that I would likely learn it and then forget it because I wouldn’t use it regularly.
Then I thought about checking React, but it was kind of the same idea. I could go deep into this for like one month, and then I would totally forget it because I wouldn’t update the tooling, and so on.
So I decided to take another look at Uno Platform. We’ve used Uno Platform in the office before, and I love this multi-platform development approach. The only problem I had at that time was that the tooling wasn’t quite there yet. Sometimes it would compile, sometimes you’d get a lot of errors, and the static analysis would throw a lot of errors too. It was kind of hard—you’d spend a lot of time setting up your environment, and compilation was kind of slow.
But when I decided to take a look again recently, I remembered that about a year ago they released new project templates and platform extensions that help with the setup of your environment. So I tried it, and it worked well! I have two clean setups right now: my new Surface computer that I reset maybe three weeks ago, and my old MSI computer with 64 gigabytes of RAM. These gave me good places to test.
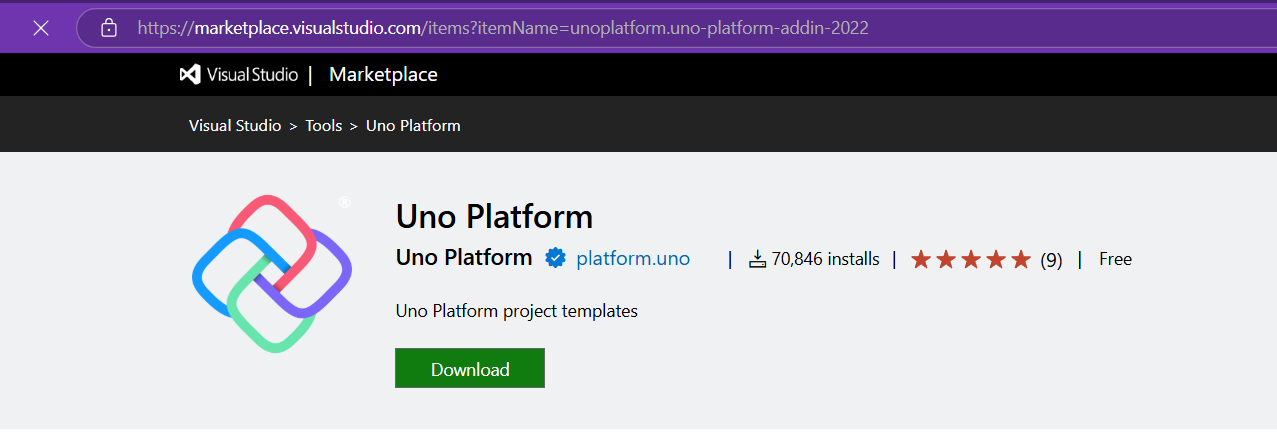
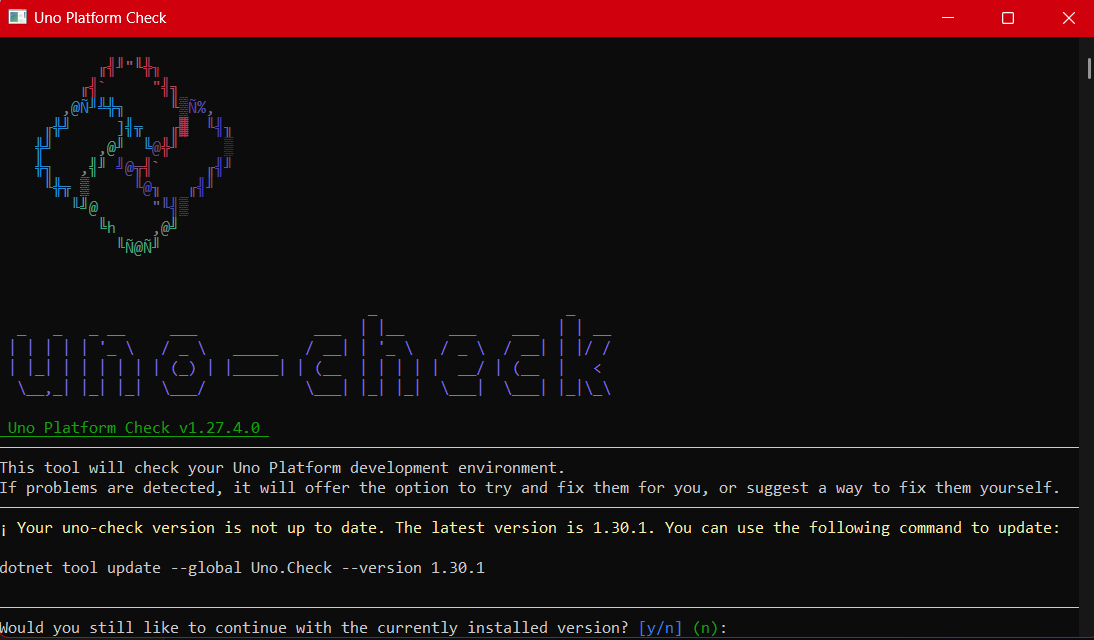
I decided to go to the Uno Platform page and follow the “Getting Started” guide. The first thing you need to do is use some commands to install a tool that checks your setup to see if you have all the necessary workloads. That was super simple. Then you have to add the extension to Visual Studio—I’m using Visual Studio in this case just to add the project templates. You can do this in Rider or Visual Studio Code as well, but the traditional Visual Studio is my tool of preference.
Uno Platform – Visual Studio Marketplace
Setup your environment with uno check
After completing all the setup, you get a menu with a lot of choices, but they give you a set of recommended options that follow best practices. That’s really nice because you don’t have to think too much about it. After that, I created a few projects. The first time I compiled them, it took a little bit, but then it was just like magic—they compiled extremely fast!
You have all these choices to run your app on: WebAssembly, Windows UI, Android, and iOS, and it works perfectly. I fell in love again, especially because the tooling is actually really solid right now. You don’t have to struggle to make it work.
Since then, I’ve been checking the examples and trying to write some code, and so far, so good. I guess my new choice for a UI framework will be Uno because it builds on my current knowledge of .NET and C#. I can take advantage of the tools I already have, and I don’t have to switch languages. I just need to learn a new paradigm.
I will write a series of articles about all my adventures with Uno Platform. I’ll share links about getting started, and after this, I’ll create some sample applications addressing the challenges that app developers face: how to implement navigation, how to register services, how to work with the Model-View-ViewModel pattern, and so on.
I would like to document every challenge I encounter, and I hope that you can join me in these Uno adventures!
About Us
YouTube
https://www.youtube.com/c/JocheOjedaXAFXAMARINC
Our sites
Let’s discuss your XAF
https://calendly.com/bitframeworks/bitframeworks-free-xaf-support-hour/
Our free A.I courses on Udemy
by Joche Ojeda | Mar 6, 2025 | Visual Studio
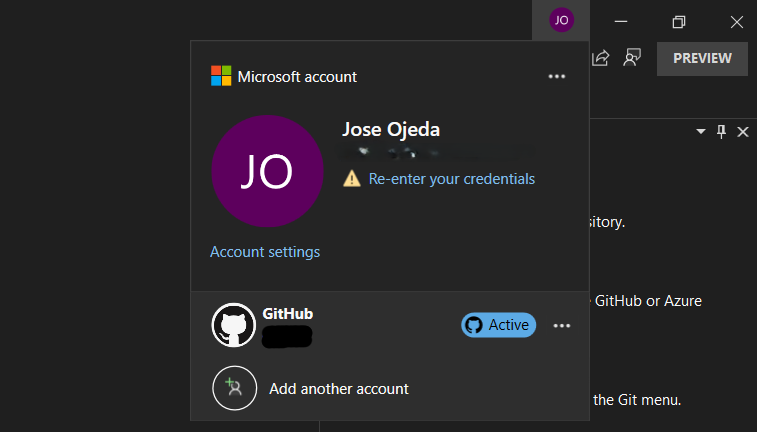
Visual Studio Sign-In Issues: A Simple Fix
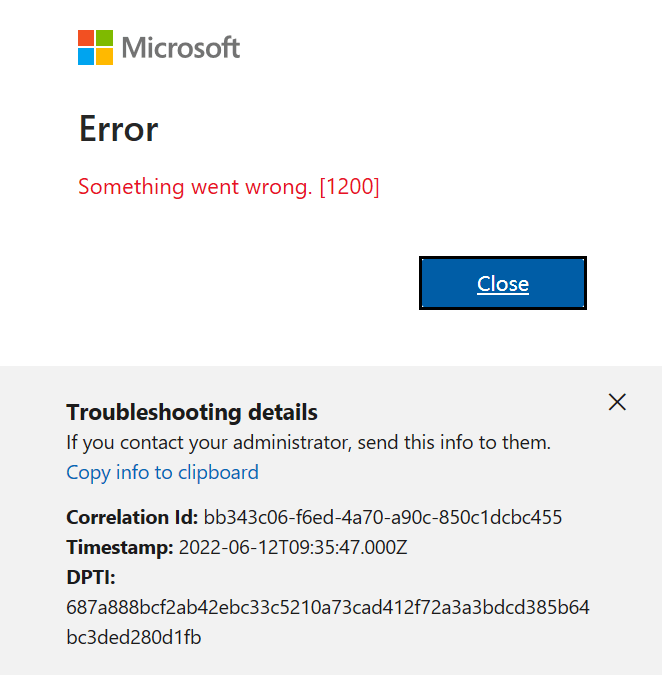
For a long time, I had a problem with my Visual Studio installation. I was unable to sign in with different accounts or change my account. I tried resetting my computer to the default settings, but the issue persisted.
In December, I bought a new Microsoft Surface, which basically fixed the problem. However, I still have my own computer – a really good MSI gaming machine with 64 gigabytes of RAM. I decided to use it as a secondary computer, but the main problem remained: even after resetting my Windows setup to default and cleaning all programs, I was unable to sign in with a different account. I was essentially stuck.
Today, I decided to tackle this issue. It’s been a really busy week (it’s Thursday already), but I’ve accomplished a lot, including finishing two Udemy courses on Semantic Kernel and Microsoft AI Extensions. Having some free time, I played around with my old computer to see if I could fix it – and fortunately, I was able to!
The Solution
Here’s what I did to fix the sign-in problem:
- Go to Visual Studio Options > Environment > Accounts
- Change “Add and reauthenticate accounts using:” from “Windows authentication broker” to something else like “Embedded web browser” or “System browser”
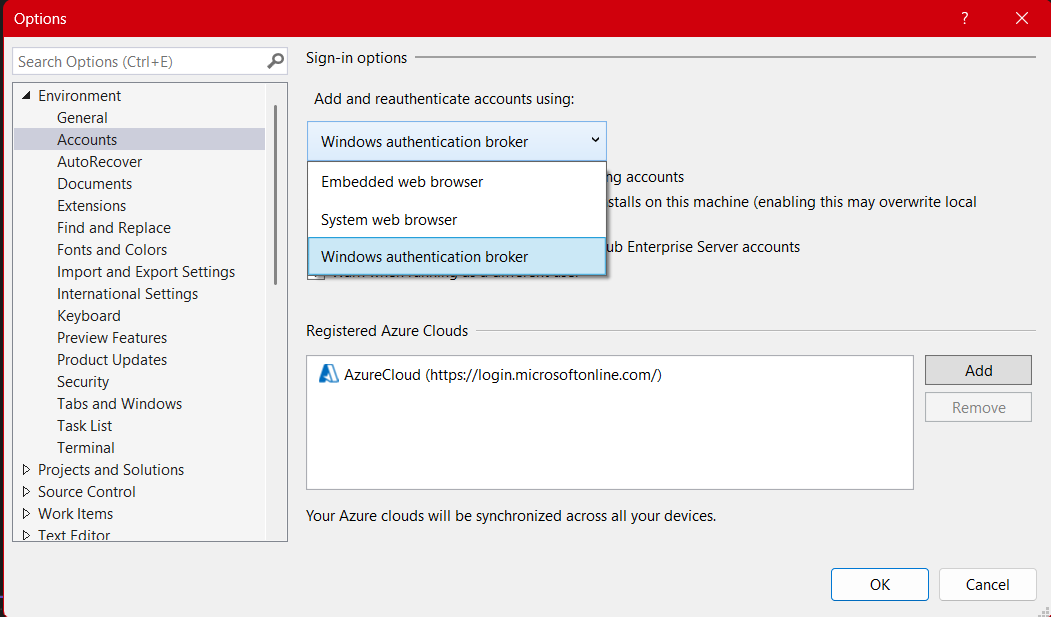
After changing to System browser or Embedded web browser, I was able to complete the entire sign-in flow without issues.
If you’re experiencing similar problems with Visual Studio account authentication, give this simple fix a try!

by Joche Ojeda | Mar 5, 2025 | C#, dotnet, Uno Platform
Exploring the Uno Platform: Handling Unsafe Code in Multi-Target Applications
This last weekend I wanted to do a technical experiment as I always do when I have some free time. I decided there was something new I needed to try and see if I could write about. The weekend turned out to be a beautiful surprise as I went back to test the Uno platform – a multi-OS, multi-target UI framework that generates mobile applications, desktop applications, web applications, and even Linux applications.
The idea of Uno is a beautiful concept, but for a long time, the tooling wasn’t quite there. I had made it work several times in the past, but after an update or something in Visual Studio, the setup would break and applications would become basically impossible to compile. That seems to no longer be the case!
Last weekend, I set up Uno on two different computers: my new Surface laptop with an ARM type of processor (which can sometimes be tricky for some tools) and my old MSI with an x64 type of processor. I was thrilled that the setup was effortless on both machines.
After the successful setup, I decided to download the entire Uno demo repository and start trying out the demos. However, for some reason, they didn’t compile. I eventually realized there was a problem with generated code during compilation time that turned out to be unsafe code. Here are my findings about how to handle the unsafe code that is generated.
AllowUnsafeBlocks Setting in Project File
I discovered that this setting was commented out in the Navigation.csproj file:
<!--<AllowUnsafeBlocks>true</AllowUnsafeBlocks>-->
When uncommented, this setting allows the use of unsafe code blocks in your .NET 8 Uno Platform project. To enable unsafe code, you need to remove the comment markers from this line in your project file.
Why It’s Needed
The <AllowUnsafeBlocks>true</AllowUnsafeBlocks> setting is required whenever you want to use “unsafe” code in C#. By default, C# is designed to be memory-safe, preventing direct memory manipulation that could lead to memory corruption, buffer overflows, or security vulnerabilities. When you add this setting to your project file, you’re explicitly telling the compiler to allow portions of code marked with the unsafe keyword.
Unsafe code lets you work with pointers and perform direct memory operations, which can be useful for:
- Performance-critical operations
- Interoperability with native code
- Direct memory manipulation
What Makes Code “Unsafe”
Code is considered “unsafe” when it bypasses .NET’s memory safety guarantees. Specifically, unsafe code includes:
- Pointer operations: Using the * and -> operators with memory addresses
- Fixed statements: Pinning managed objects in memory so their addresses don’t change during garbage collection
- Sizeof operator: Getting the size of a type in bytes
- Stackalloc keyword: Allocating memory on the stack instead of the heap
Example of Unsafe Code
Here’s an example of unsafe code that might be generated:
unsafe
{
    int[] numbers = new int[] { 10, 20, 30, 40, 50 };

    // UNSAFE: Pinning an array in memory and getting direct pointer
    fixed (int* pNumbers = numbers)
    {
        // UNSAFE: Pointer declaration and manipulation
        int* p = pNumbers;

        // UNSAFE: Dereferencing pointers to modify memory directly
        *p = *p + 5;
        *(p + 1) = *(p + 1) + 5;
    }
}
Why Use Unsafe Code?
There are several legitimate reasons to use unsafe code:
- Performance optimization: For extremely performance-critical sections where you need to eliminate overhead from bounds checking or other safety features.
- Interoperability: When interfacing with native libraries or system APIs that require pointers.
- Low-level operations: For systems programming tasks that require direct memory manipulation, like implementing custom memory managers.
- Hardware access: When working directly with device drivers or memory-mapped hardware.
- Algorithms requiring pointer arithmetic: Some specialized algorithms are most efficiently implemented using pointer operations.
Risks and Considerations
Using unsafe code comes with significant responsibilities:
- You bypass the runtime’s safety checks, so errors can cause application crashes or security vulnerabilities
- Memory leaks are possible if you allocate unmanaged memory and don’t free it properly
- Your code becomes less portable across different .NET implementations
- Debugging unsafe code is more challenging
In general, you should only use unsafe code when absolutely necessary and isolate it in small, well-tested sections of your application.
In conclusion, I’m happy to see that the Uno platform has matured significantly. While there are still some challenges like handling unsafe generated code, the setup process has become much more reliable. If you’re looking to develop truly cross-platform applications with a single codebase, Uno is worth exploring – just remember to uncomment that AllowUnsafeBlocks setting if you run into compilation issues!

by Joche Ojeda | Mar 2, 2025 | C#, System Theory
This past week, I have been working on a prototype for a wizard component. As you might know, in computer interfaces, wizard components (or multi-step forms) allow users to navigate through a finite number of steps or pages until they reach the end. Wizards are particularly useful because they don’t overwhelm users with too many choices at once, effectively minimizing the number of decisions a user needs to make at any specific moment.
The current prototype is created using XAF from DevExpress. If you follow this blog, you probably know that I’m a DevExpress MVP, and I wanted to use their tools to create this prototype.
I’ve built wizard components before, but mostly in a rush. Those previous implementations had the wizard logic hardcoded directly inside the UI components, with no separation between the UI and the underlying logic. While they worked, they were quite messy. This time, I wanted to take a more structured approach to creating a wizard component, so here are a few of my findings. Most of this might seem obvious, but sometimes it’s hard to see the forest for the trees when you’re sitting in front of the computer writing code.
Understanding the Core Concept: State Machines
To create an effective wizard component, you need to understand several underlying concepts. The idea of a wizard is actually rooted in system theory and computer science—it’s essentially an implementation of what’s called a state machine or finite state machine.
Theory of a State Machine
A state machine is the same as a finite state machine (FSM). Both terms refer to a computational model that describes a system existing in one of a finite number of states at any given time.
A state machine (or FSM) consists of:
- States: Distinct conditions the system can be in
- Transitions: Rules for moving between states
- Events/Inputs: Triggers that cause transitions
- Actions: Operations performed when entering/exiting states or during transitions
The term “finite” emphasizes that there’s a limited, countable number of possible states. This finite nature is crucial as it makes the system predictable and analyzable.
State machines come in several variants:
- Deterministic FSMs (one transition per input)
- Non-deterministic FSMs (multiple possible transitions per input)
- Mealy machines (outputs depend on state and input)
- Moore machines (outputs depend only on state)
They’re widely used in software development, hardware design, linguistics, and many other fields because they make complex behavior easier to visualize, implement, and debug. Common examples include traffic lights, UI workflows, network protocols, and parsers.
In practical usage, when someone refers to a “state machine,” they’re almost always talking about a finite state machine.
Implementing a Wizard State Machine
Here’s an implementation of a wizard state machine that separates the logic from the UI:
public class WizardStateMachineBase
{
    readonly List<WizardPage> _pages;
    int _currentIndex;

    public WizardStateMachineBase(IEnumerable<WizardPage> pages)
    {
        _pages = pages.OrderBy(p => p.Index).ToList();
        _currentIndex = 0;
    }

    public event EventHandler<StateTransitionEventArgs> StateTransition;

    public WizardPage CurrentPage => _pages[_currentIndex];

    public virtual bool MoveNext()
    {
        if (_currentIndex < _pages.Count - 1) { var args = new StateTransitionEventArgs(CurrentPage, _pages[_currentIndex + 1]); OnStateTransition(args); if (!args.Cancel) { _currentIndex++; return true; } } return false; } public virtual bool MovePrevious() { if (_currentIndex > 0)
        {
            var args = new StateTransitionEventArgs(CurrentPage, _pages[_currentIndex - 1]);
            OnStateTransition(args);

            if (!args.Cancel)
            {
                _currentIndex--;
                return true;
            }
        }
        return false;
    }

    protected virtual void OnStateTransition(StateTransitionEventArgs e)
    {
        StateTransition?.Invoke(this, e);
    }
}

public class StateTransitionEventArgs : EventArgs
{
    public WizardPage CurrentPage { get; }
    public WizardPage NextPage { get; }
    public bool Cancel { get; set; }

    public StateTransitionEventArgs(WizardPage currentPage, WizardPage nextPage)
    {
        CurrentPage = currentPage;
        NextPage = nextPage;
        Cancel = false;
    }
}

public class WizardPage
{
    public int Index { get; set; }
    public string Title { get; set; }
    public string Description { get; set; }
    public bool IsRequired { get; set; } = true;
    public bool IsCompleted { get; set; }

    // Additional properties specific to your wizard implementation
    public object Content { get; set; }

    public WizardPage(int index, string title)
    {
        Index = index;
        Title = title;
    }

    public virtual bool Validate()
    {
        // Default implementation assumes page is valid
        // Override this method in derived classes to provide specific validation logic
        return true;
    }
}
Benefits of This Approach
As you can see, by defining a state machine, you significantly narrow down the implementation possibilities. You solve the problem of “too many parts to consider” – questions like “How do I start?”, “How do I control the state?”, “Should the state be in the UI or a separate class?”, and so on. These problems can become really complicated, especially if you don’t centralize the state control.
This simple implementation of a wizard state machine shows how to centralize control of the component’s state. By separating the state management from the UI components, we create a cleaner, more maintainable architecture.
The WizardStateMachineBase class manages the collection of pages and handles navigation between them, while the StateTransitionEventArgs class provides a mechanism to cancel transitions if needed (for example, if validation fails). The newly added WizardPage class encapsulates all the information needed for each step in the wizard.
What’s Next?
The next step will be to control how the visual components react to the state of the machine – essentially connecting our state machine to the UI layer. This will include handling the display of the current page content, updating navigation buttons (previous/next/finish), and possibly showing progress indicators. I’ll cover this UI integration in my next post.
By following this pattern, you can create wizard interfaces that are not only user-friendly but also maintainable and extensible from a development perspective.
Source Code
egarim/WizardStateMachineTest
About US
YouTube
https://www.youtube.com/c/JocheOjedaXAFXAMARINC
Our sites
https://www.bitframeworks.com
https://www.xari.io
https://www.xafers.training
Let’s discuss your XAF Support needs together! This 1-hour call/zoom will give you the opportunity to define the roadblocks in your current XAF solution
Schedule a meeting with us on this link