I have a new project that I want to deploy and I don’t want it to depend on the dot net framework, so I decided to create a self-contained executable. At first, I thought it was an easy process and don’t get me wrong, it is, but I could not find all the pieces of the puzzle in one single blog post or youtube video, so I decided to write a really small tutorial about it, let’s begin
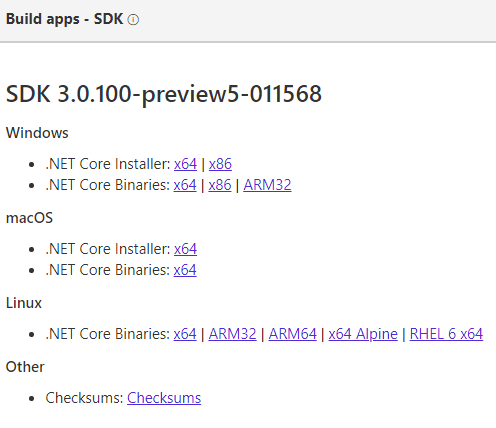
1 – Install the net core 3 SDK (still in preview). You can download it here

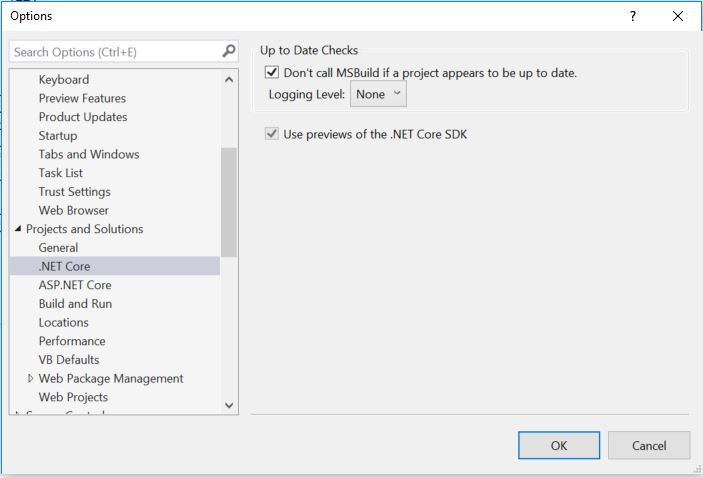
2 – Configure Visual Studio 2019 to use the preview version of net core by going to: Tools -> Options -> Projects and Solutions -> .NET Core -> Use Previews of the .NET Core SDK.

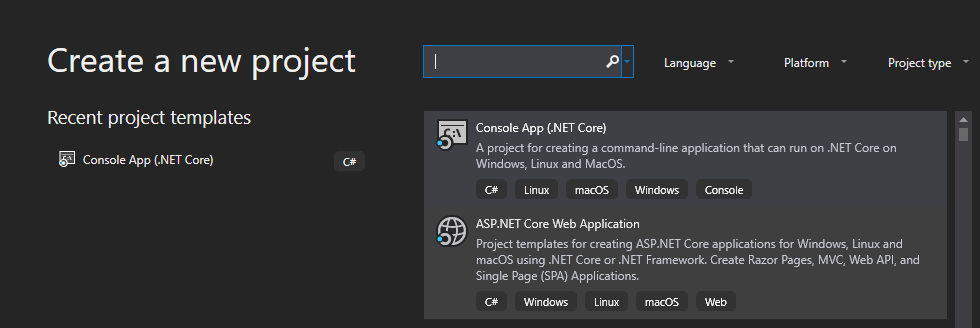
3 – Create a new net core console application in Visual Studio 2019: File-> New -> Project

4 – Edit your csproj and add the runtime identifiers <RuntimeIdentifiers>win10-x64;osx.10.11-x64;ubuntu.16.10-x64</RuntimeIdentifiers>
 \
\
4 – Open a console window in the directory where your csproject is located and run the following command to create a single executable for windows:
dotnet publish –r win10–x64 /p:PublishSingleFile=true
5 – If needed run the command for the others runtime identifiers
dotnet publish –r osx.10.11-x64 /p:PublishSingleFile=true
dotnet publish –r ubuntu.16.10-x64 /p:PublishSingleFile=true
Thats it for this post, it looks like net core 3 will make application distribution a piece of cake 🙂
