
For the past two weeks, I’ve been experimenting with the Uno Platform in two ways: creating small prototypes to explore features I’m curious about and downloading example applications from the Uno Gallery. In this article, I’ll explain the first steps you need to take when creating an Uno Platform application, the decisions you’ll face, and what I’ve found useful so far in my journey.
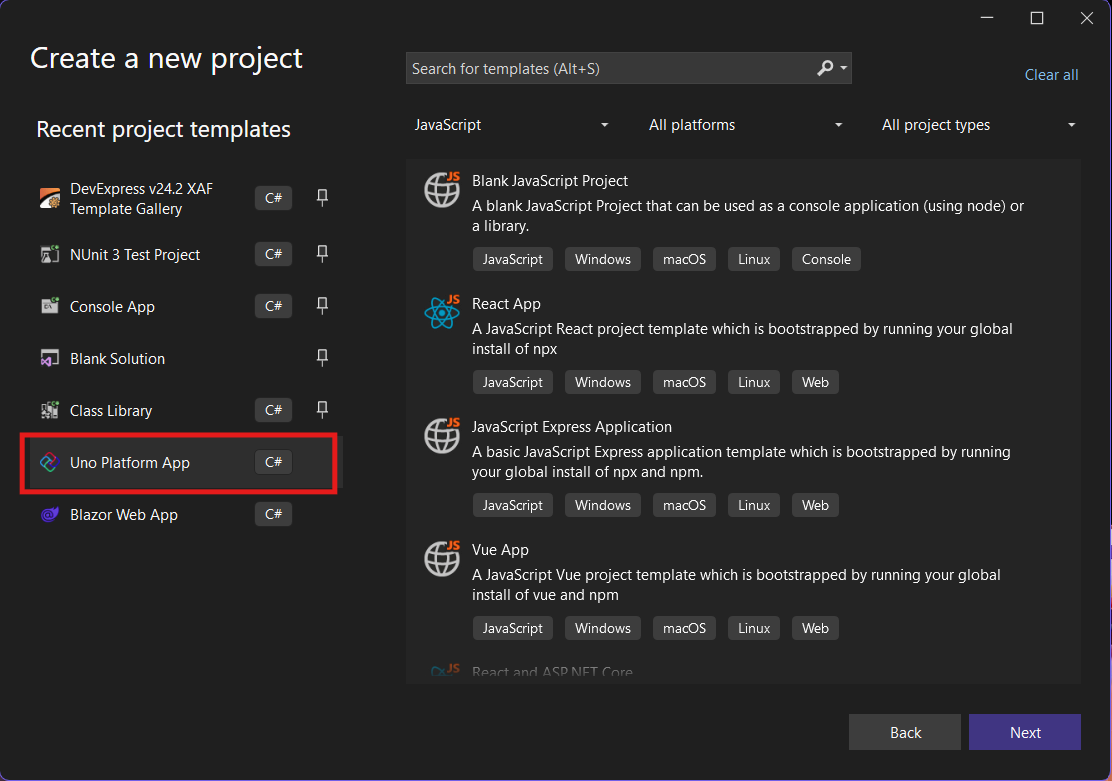
Step 1: Create a New Project
I’m using Visual Studio 2022, though the extensions and templates work well with previous versions too. I have both studio versions installed, and Uno Platform works well in both.
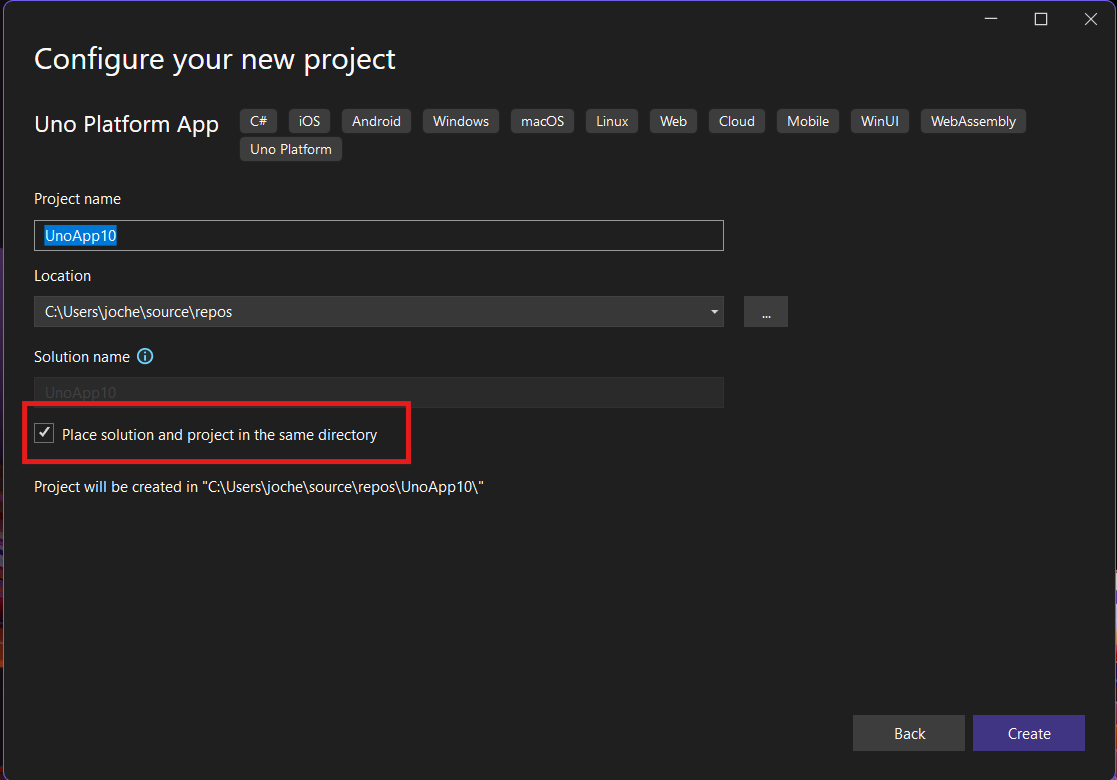
Step 2: Project Setup
After naming your project, it’s important to select “Place solution and project in the same directory” because of the solution layout requirements. You need the directory properties file to move forward. I’ll talk more about the solution structure in a future post, but for now, know that without checking this option, you won’t be able to proceed properly.
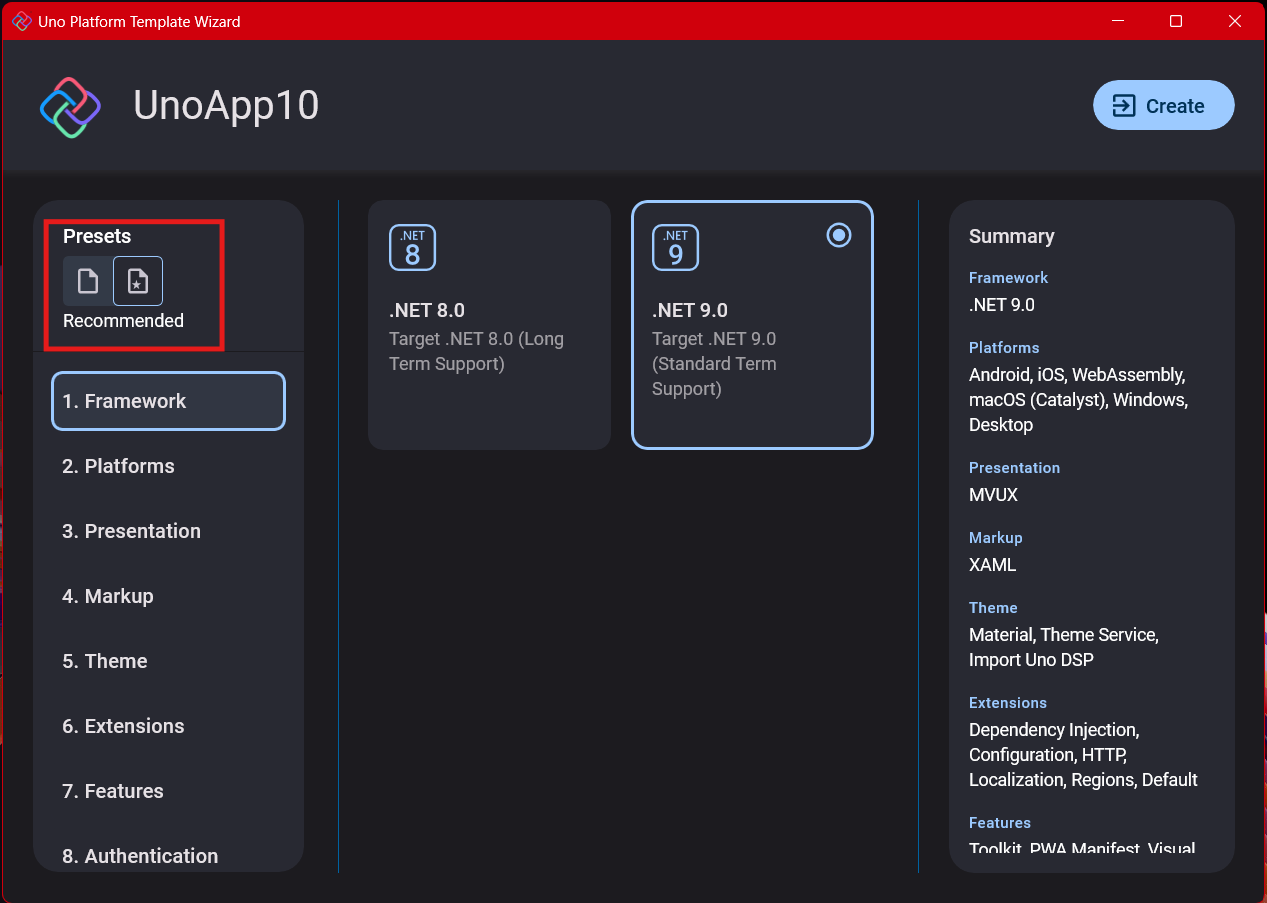
Step 3: The Configuration Wizard
The Uno Platform team has created a comprehensive wizard that guides you through various configuration options. It might seem overwhelming at first, but it’s better to have this guided approach where you can make one decision at a time.
Your first decision is which target framework to use. They recommend .NET 9, which I like, but in my test project, I’m working with .NET 8 because I’m primarily focused on WebAssembly output. Uno offers multi-threading in Web Assembly with .NET 8, which is why I chose it, but for new projects, .NET 9 is likely the better choice.
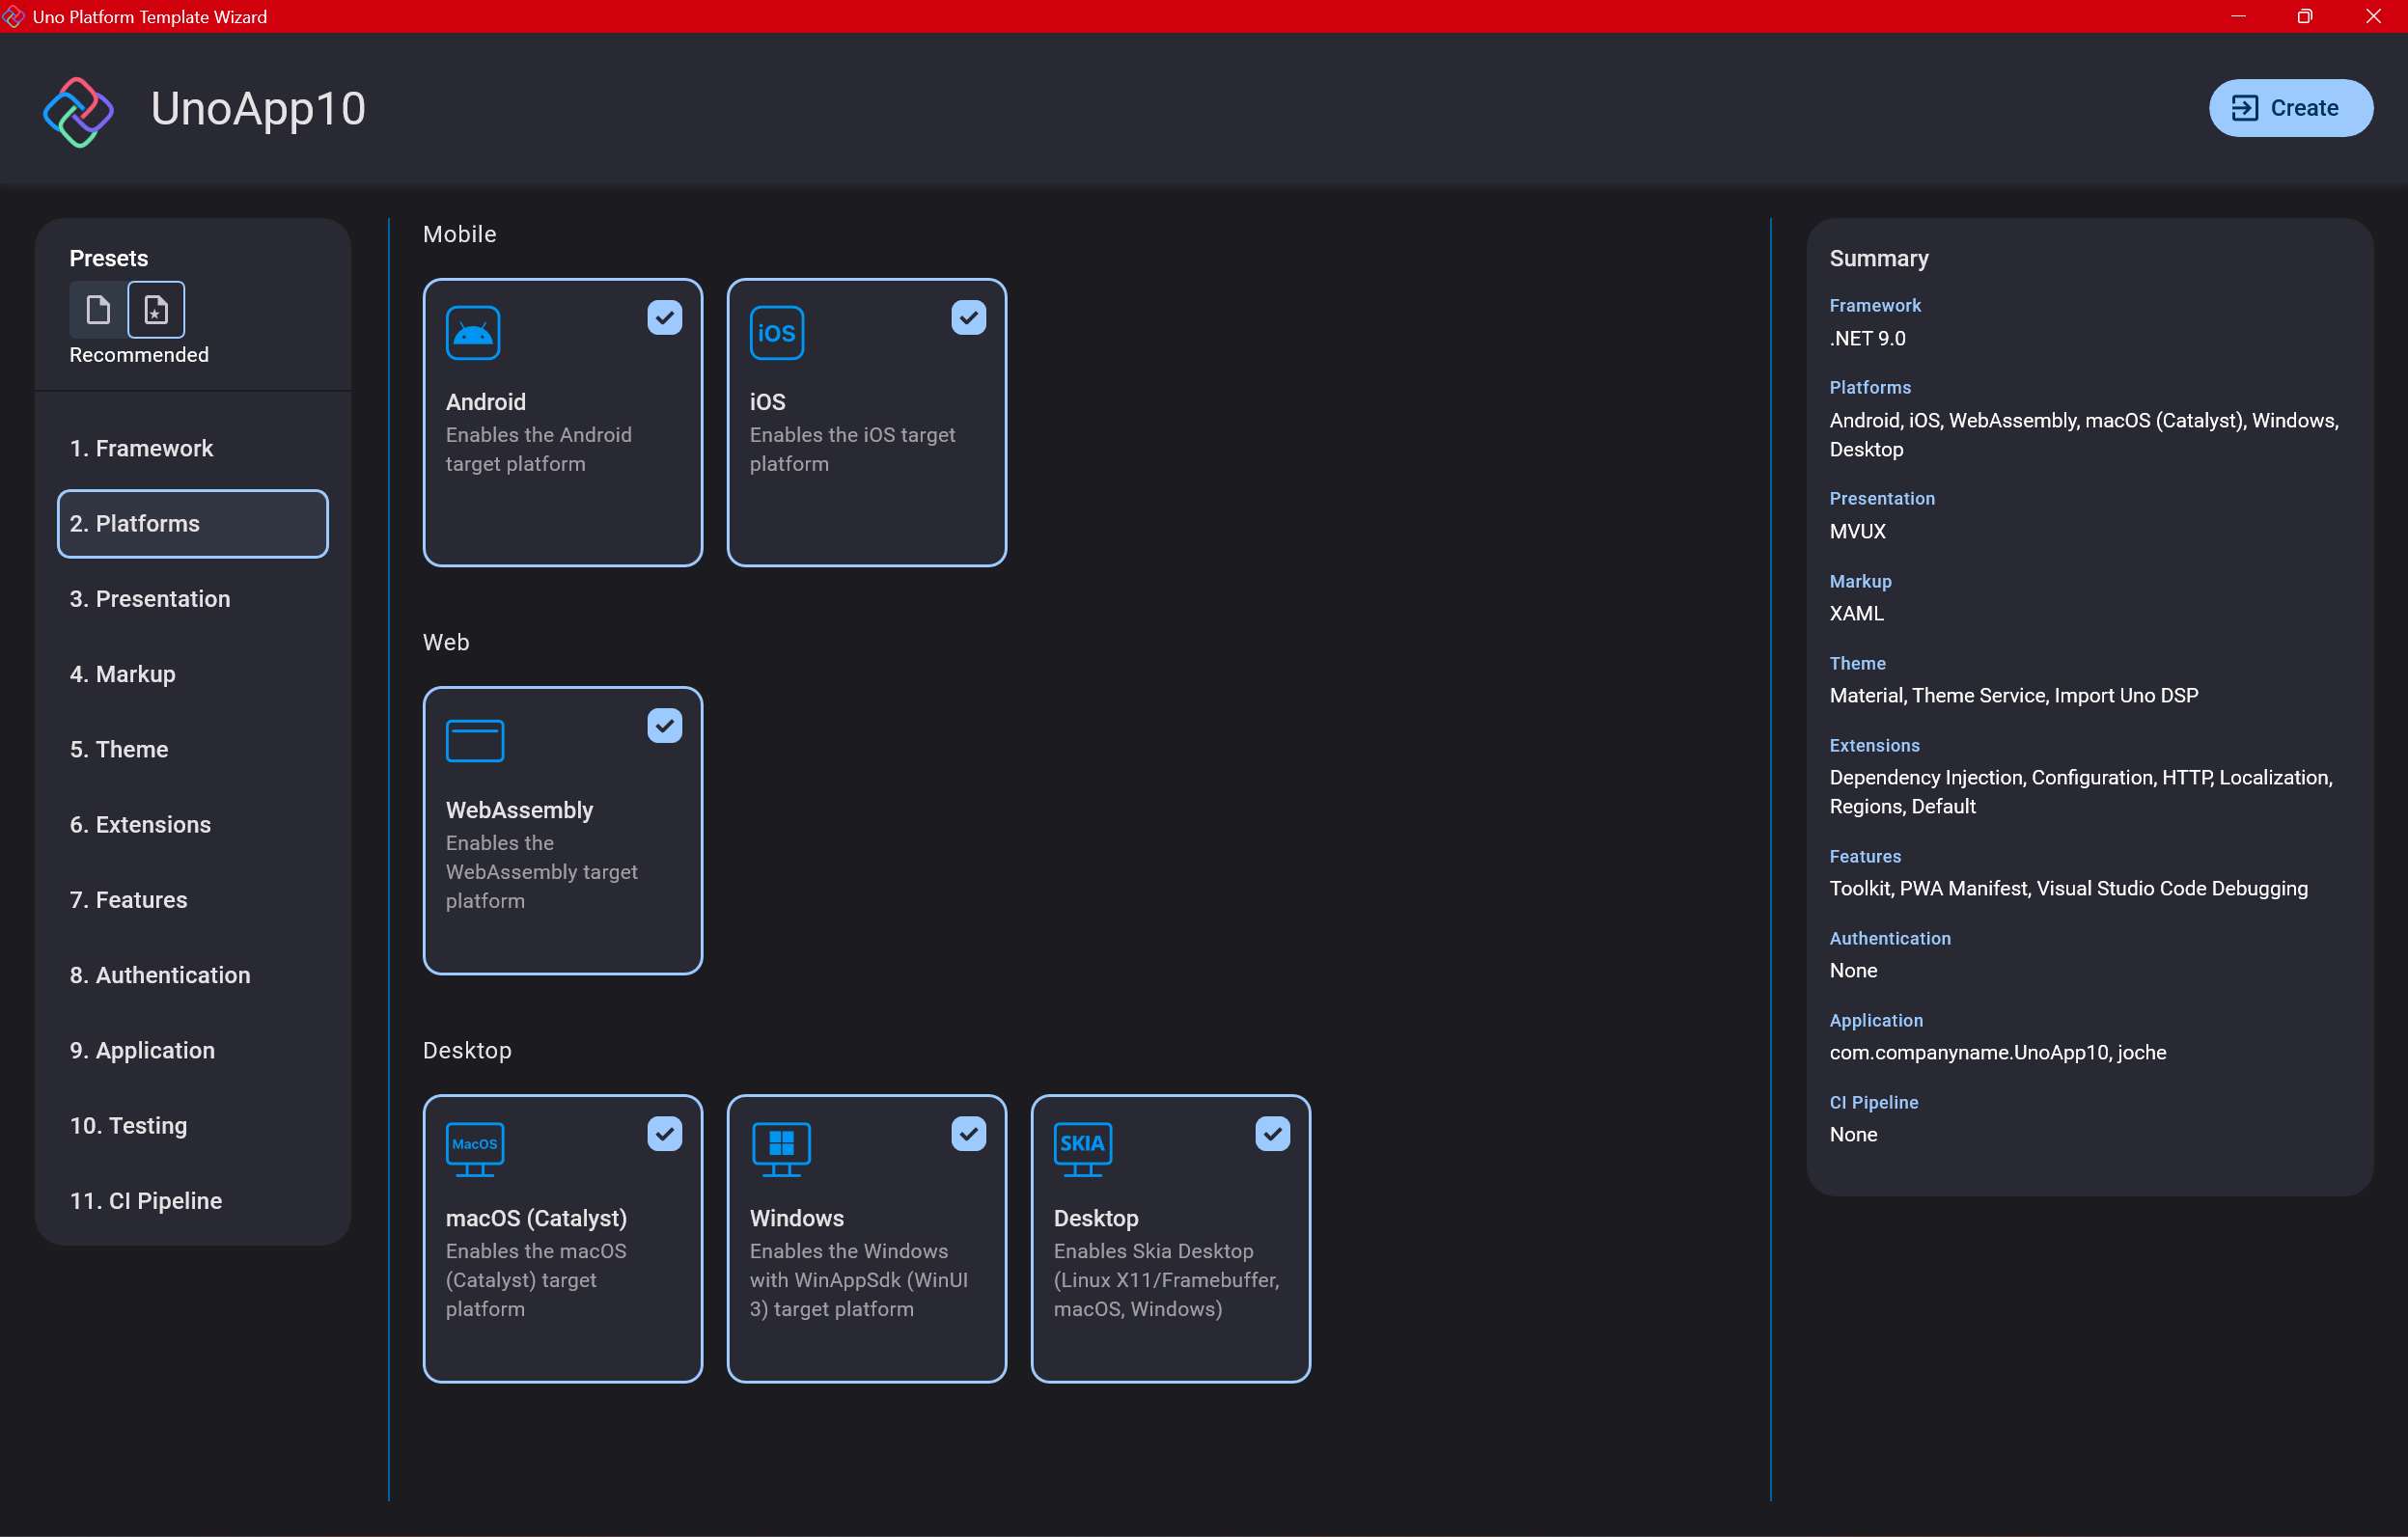
Step 4: Target Platforms
Next, you need to select which platforms you want to target. I always select all of them because the most beautiful aspect of the Uno Platform is true multi-targeting with a single codebase.
In the past (during the Xamarin era), you needed multiple projects with a complex directory structure. With Uno, it’s actually a single unified project, creating a clean solution layout. So while you can select just WebAssembly if that’s your only focus, I think you get the most out of Uno by multi-targeting.
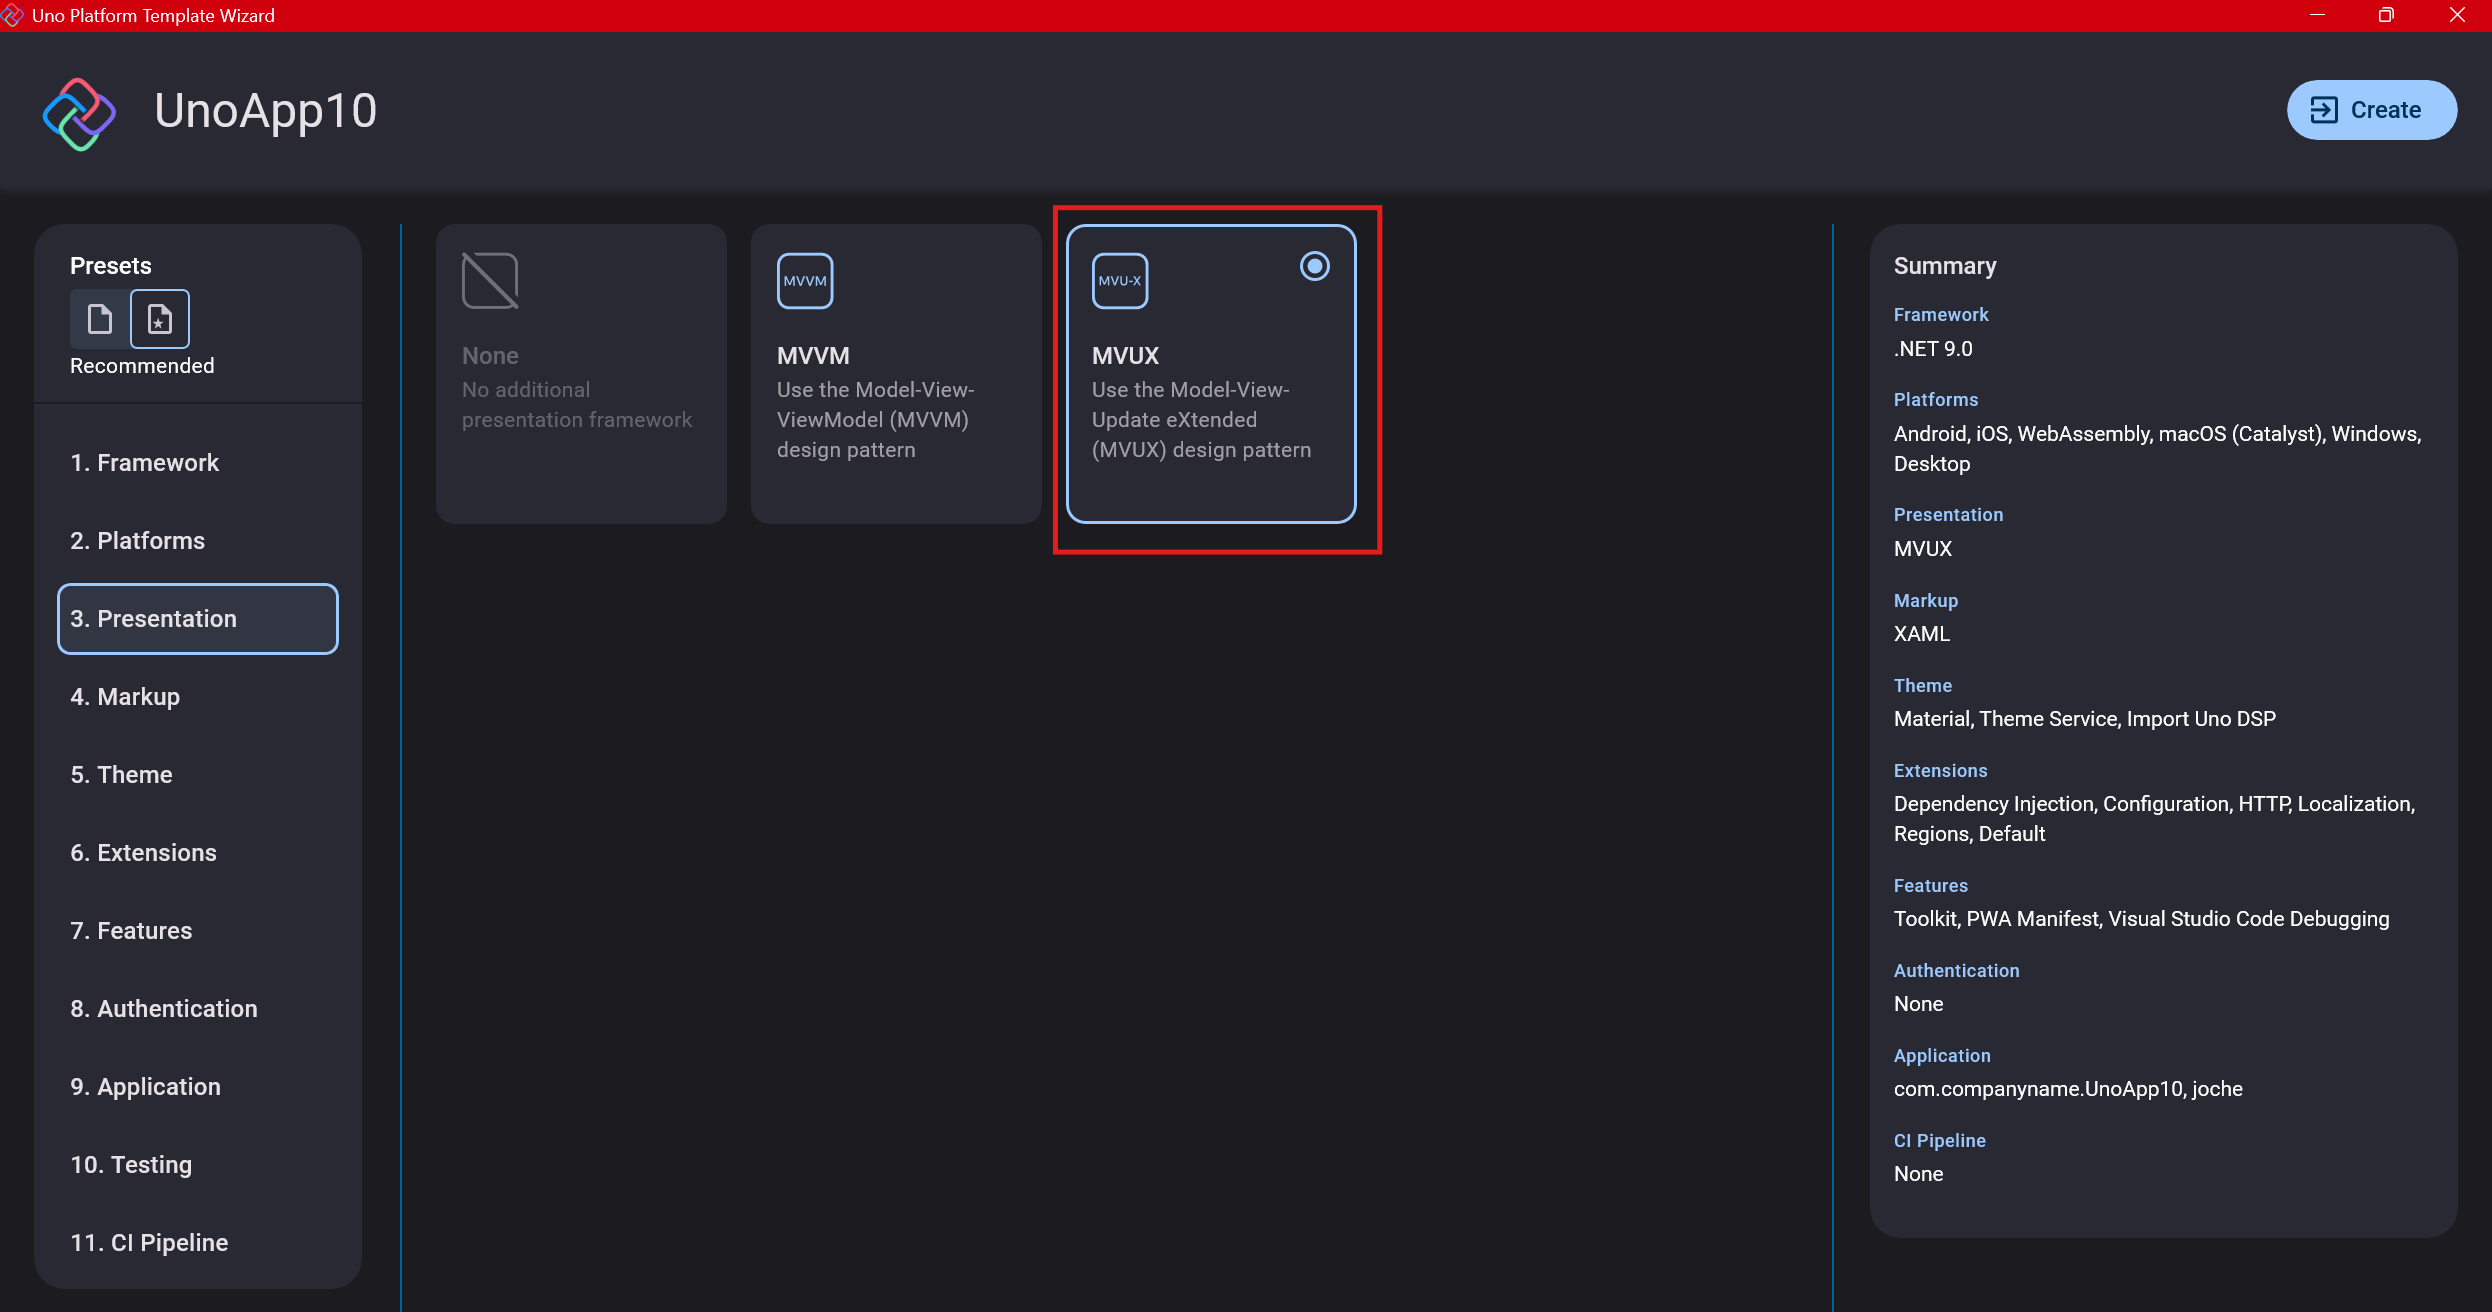
Step 5: Presentation Pattern
The next question is which presentation pattern you want to use. I would suggest MVUX, though I still have some doubts as I haven’t tried MVVM with Uno yet. MVVM is the more common pattern that most programmers understand, while MVUX is the new approach.
One challenge is that when you check the official Uno sample repository, the examples come in every presentation pattern flavor. Sometimes you’ll find a solution for your task in one pattern but not another, so you may need to translate between them. You’ll likely find more examples using MVVM.
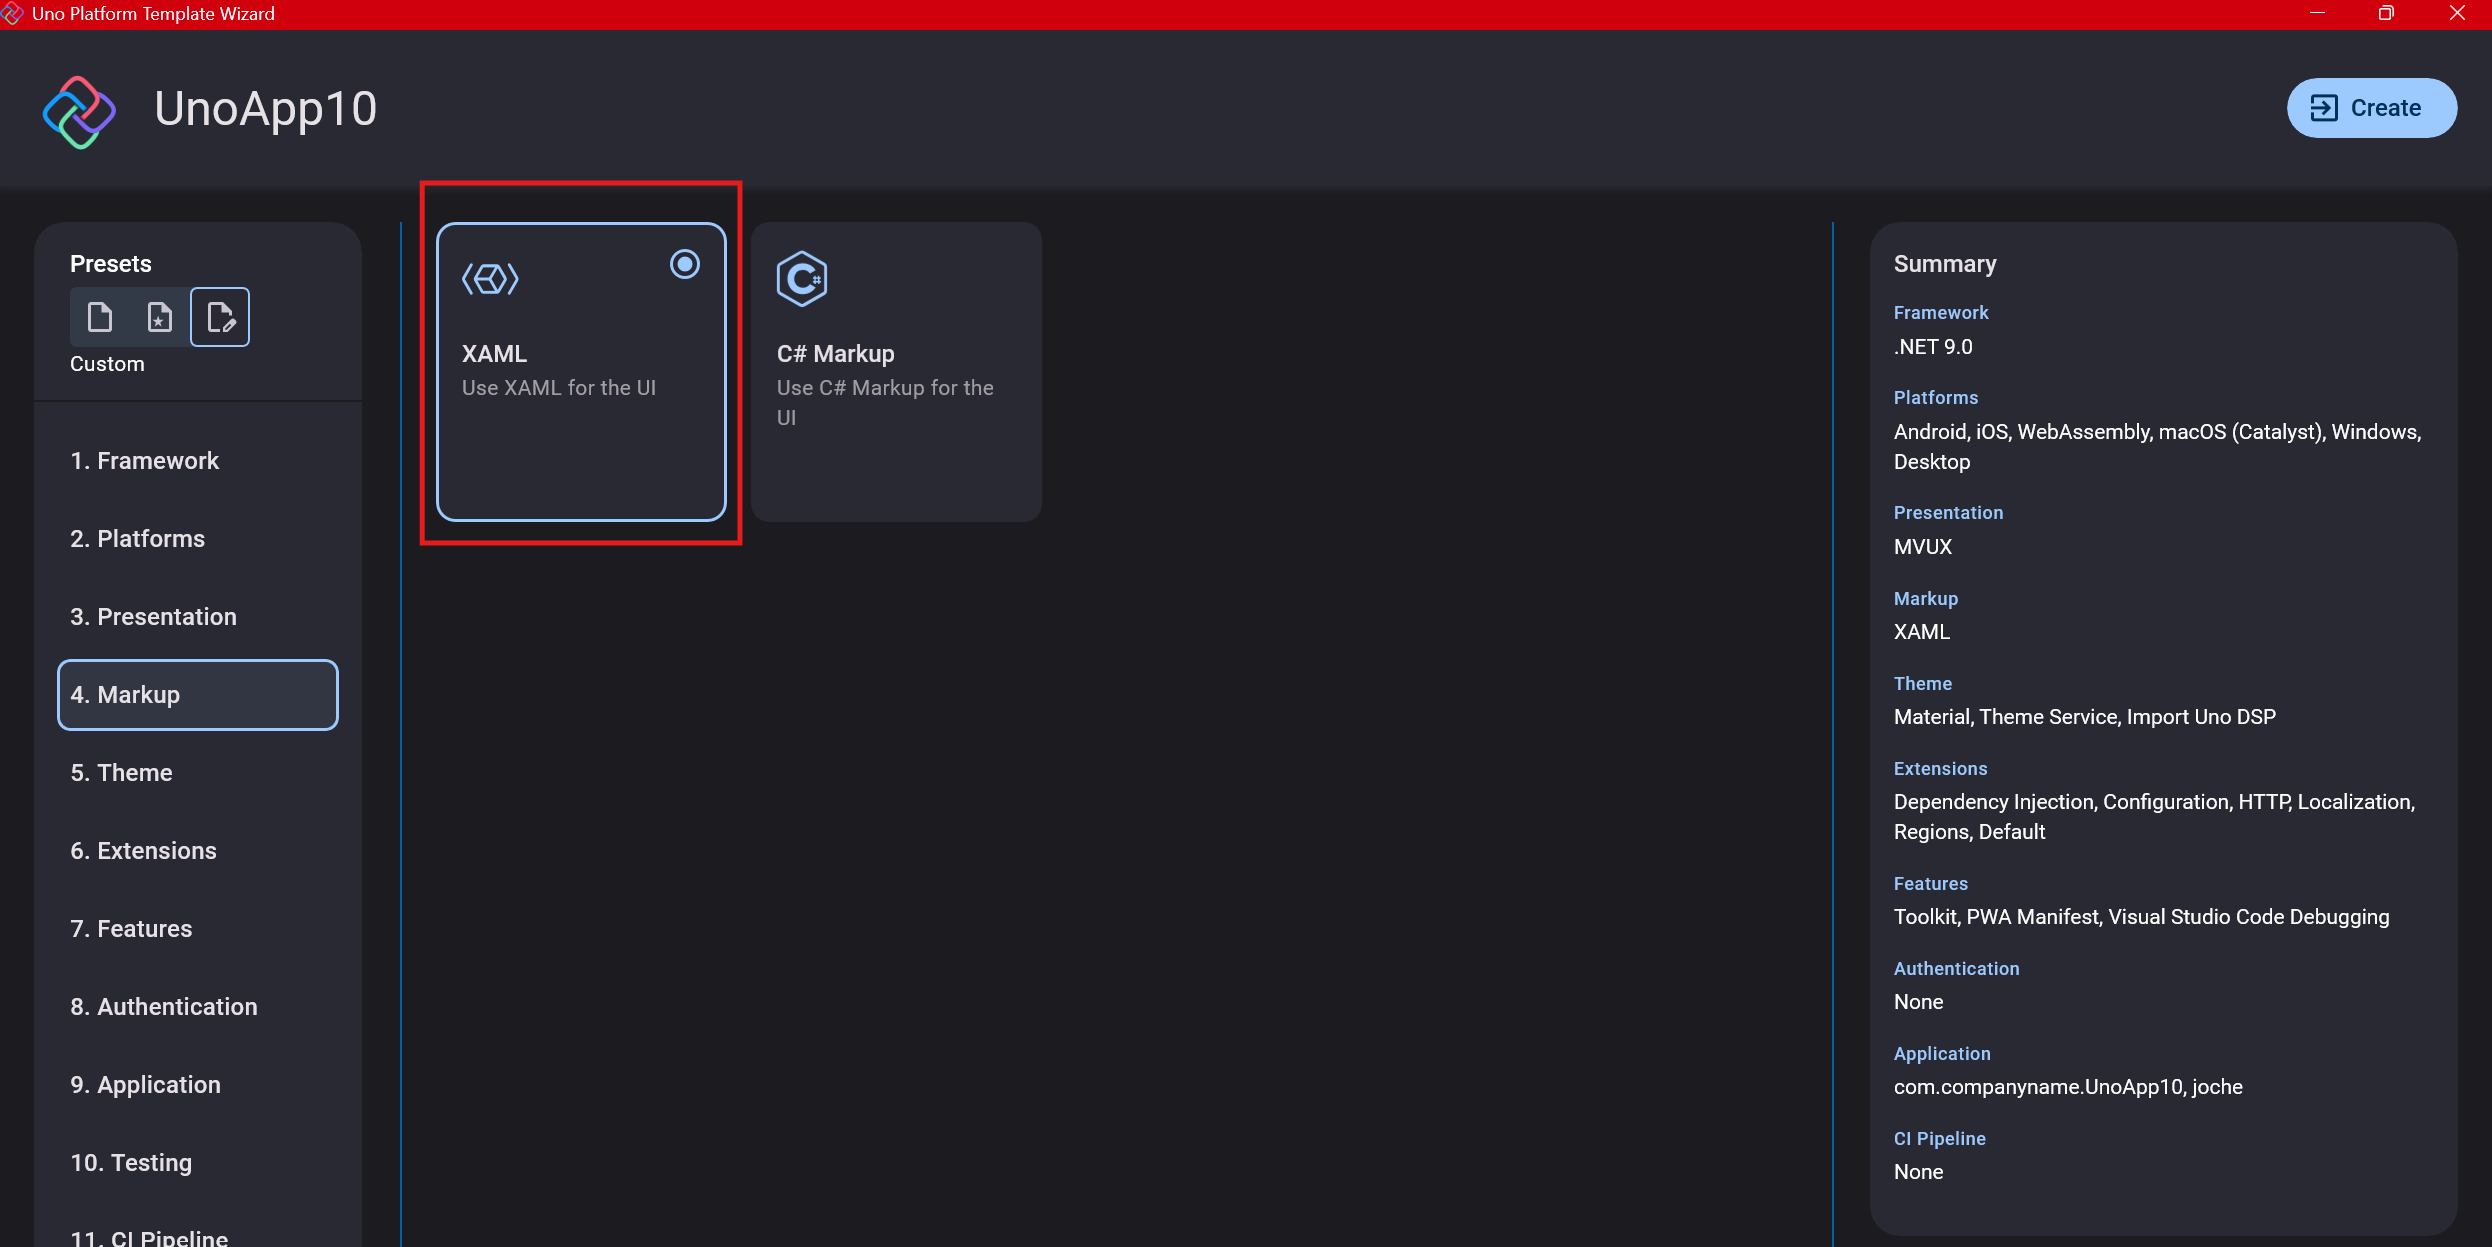
Step 6: Markup Language
For markup, I recommend selecting XAML. In my first project, I tried using C# markup, which worked well until I reached some roadblocks I couldn’t overcome. I didn’t want to get stuck trying to solve one specific layout issue, so I switched. For beginners, I suggest starting with XAML.
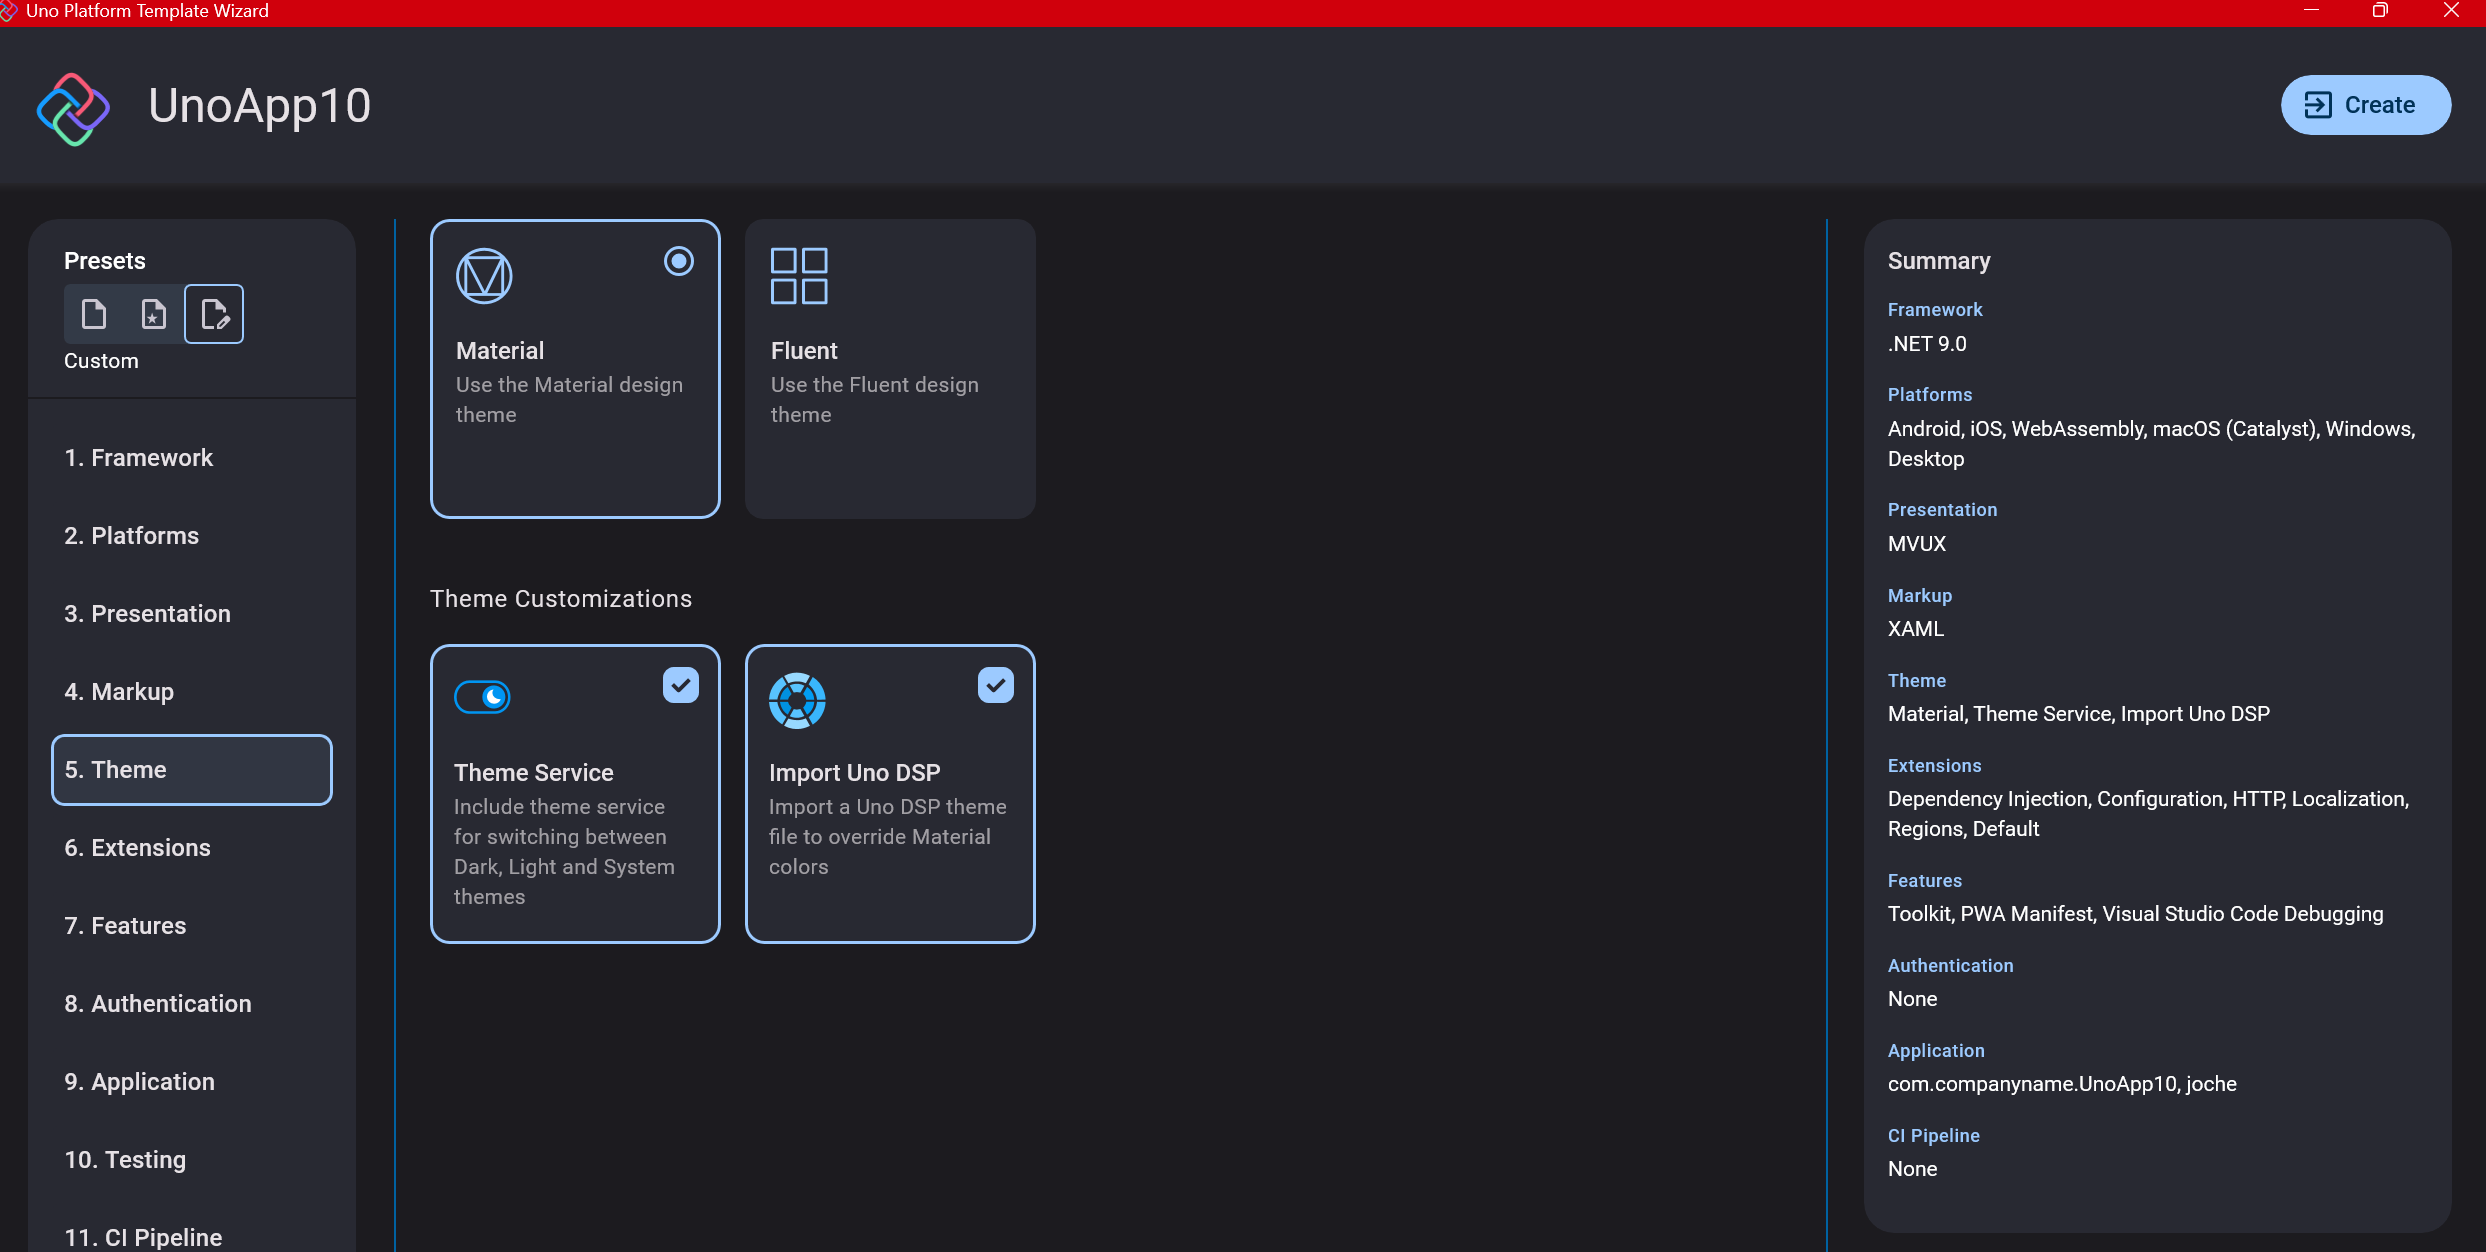
Step 7: Theming
For theming, you’ll need to select a UI theme. I don’t have a strong preference here and typically stick with the defaults: using Material Design, the theme service, and importing Uno DSP.
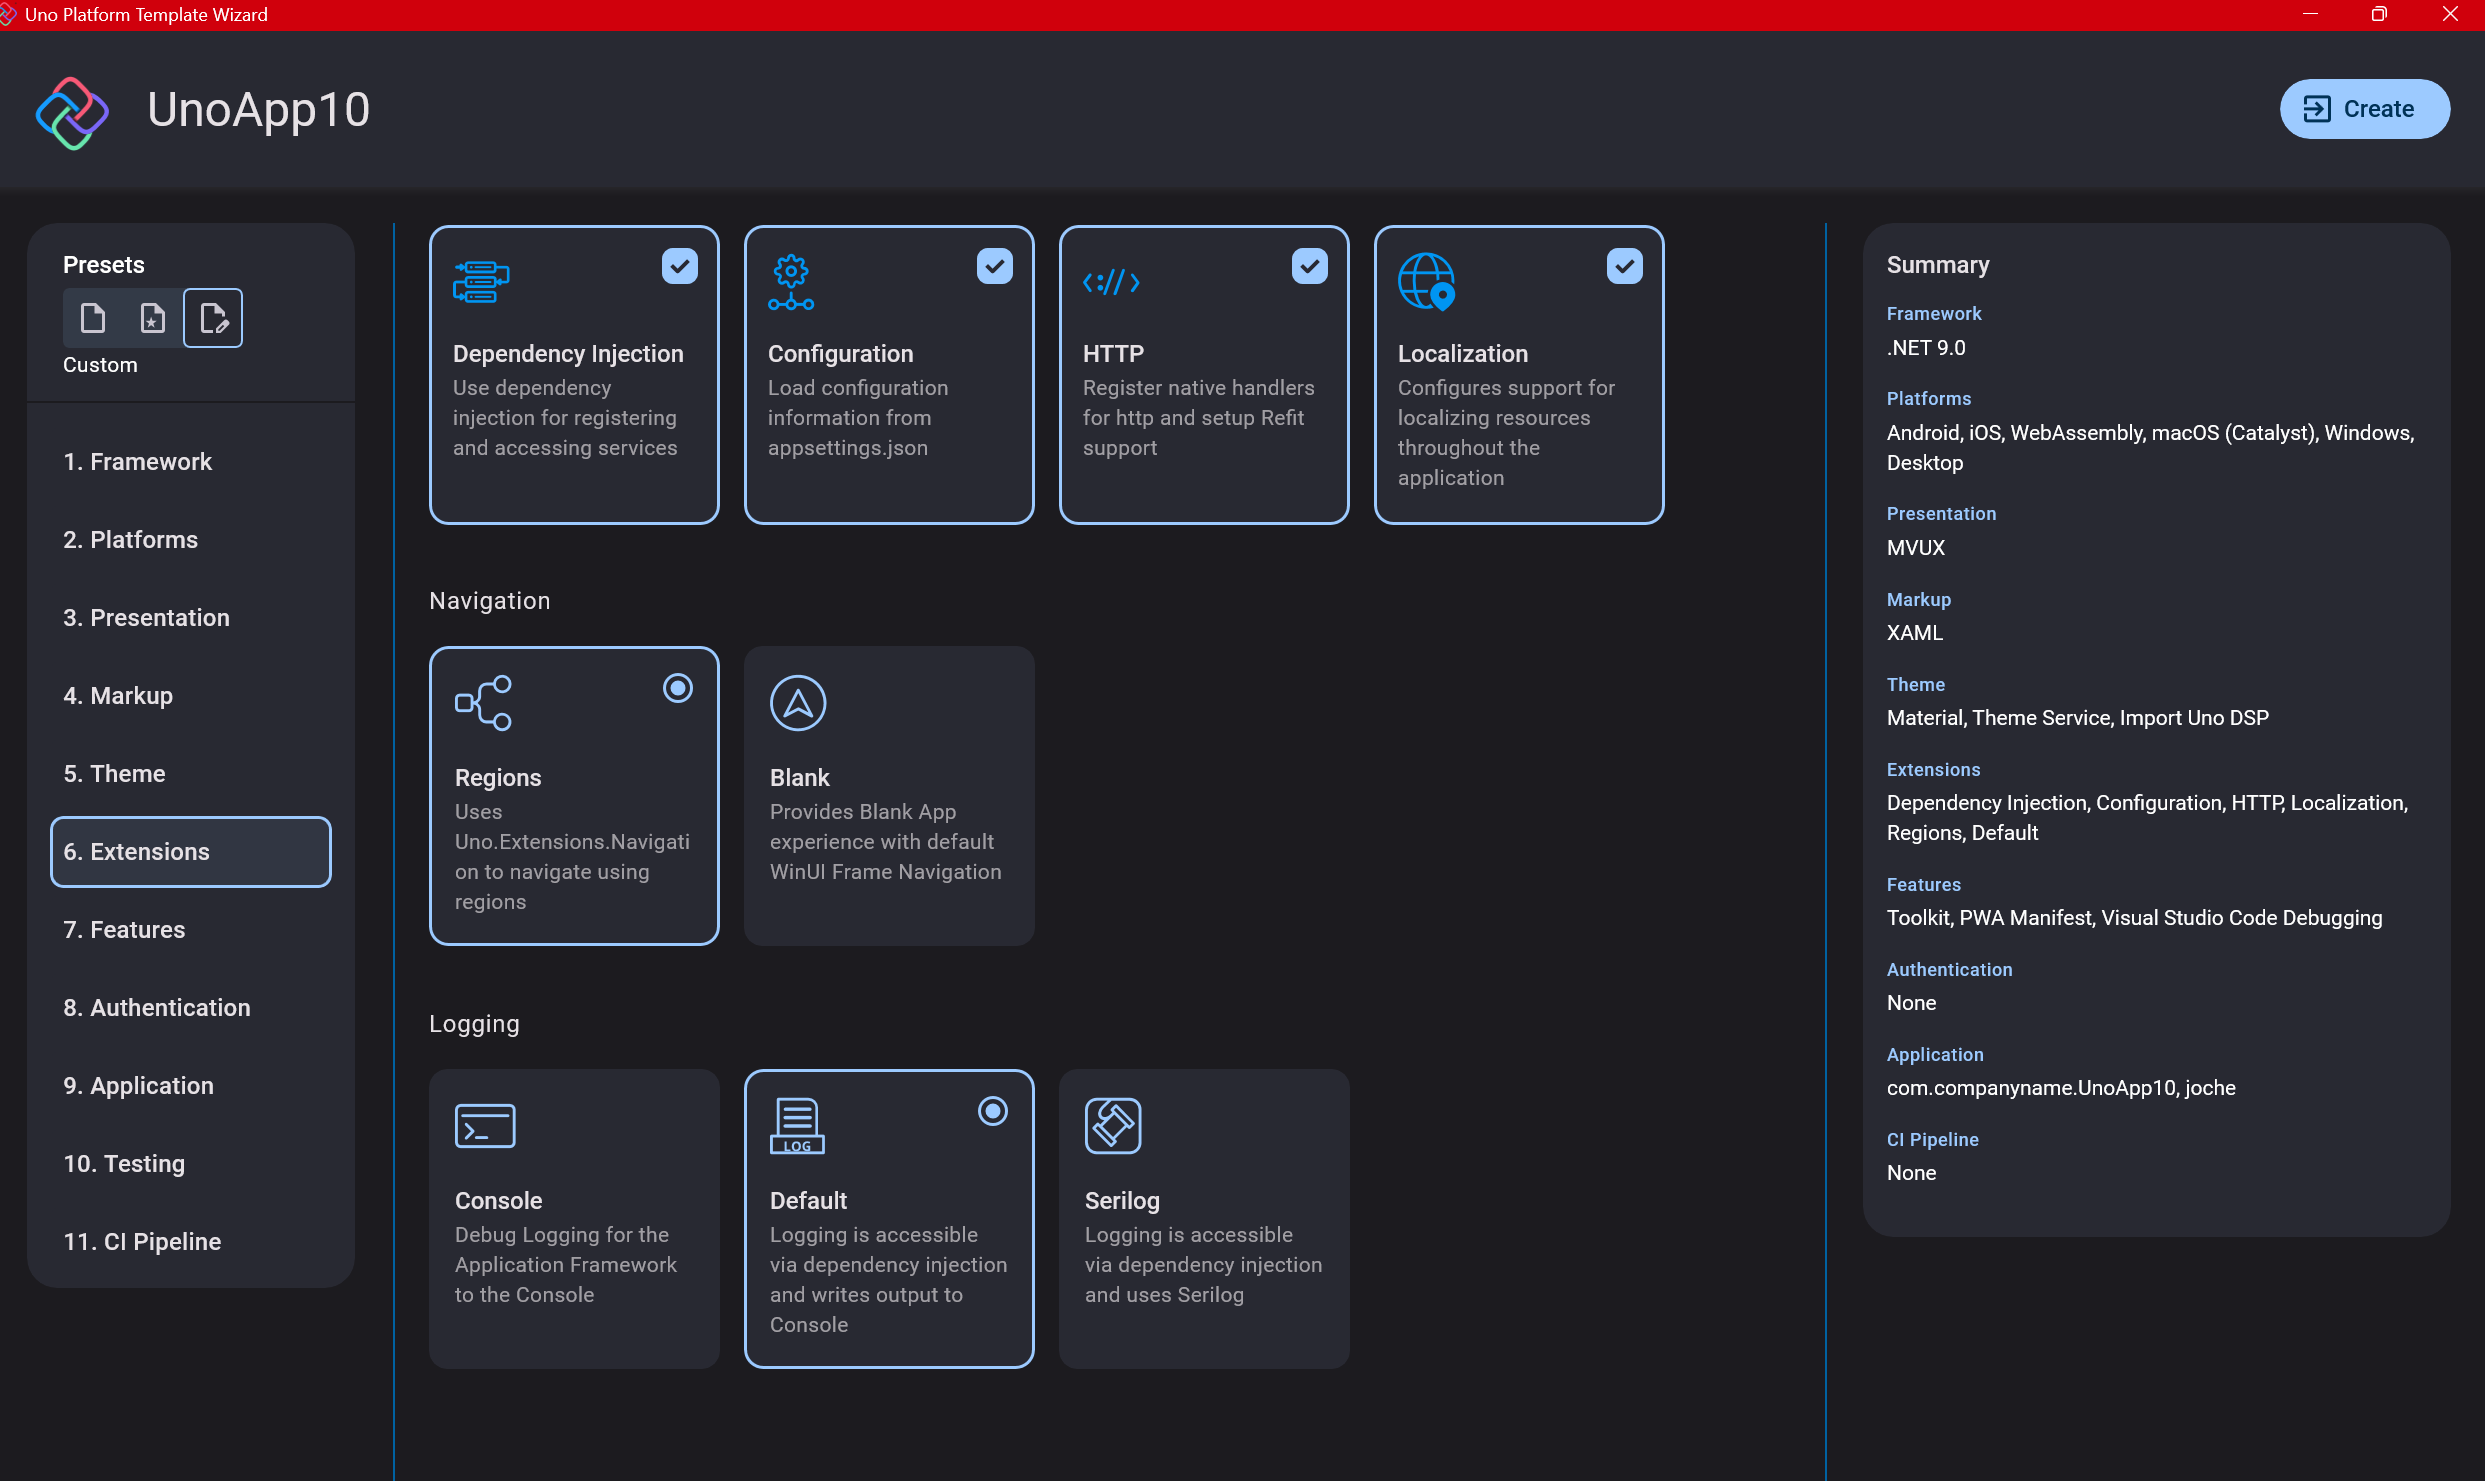
Step 8: Extensions
When selecting extensions to include, I recommend choosing almost all of them as they’re useful for modern application development. The only thing you might want to customize is the logging type (Console, Debug, or Serilog), depending on your previous experience. Generally, most applications will benefit from all the extensions offered.
Step 9: Features
Next, you’ll select which features to include in your application. For my tests, I include everything except the MAUI embedding and the media element. Most features can be useful, and I’ll show in a future post how to set them up when discussing the solution structure.

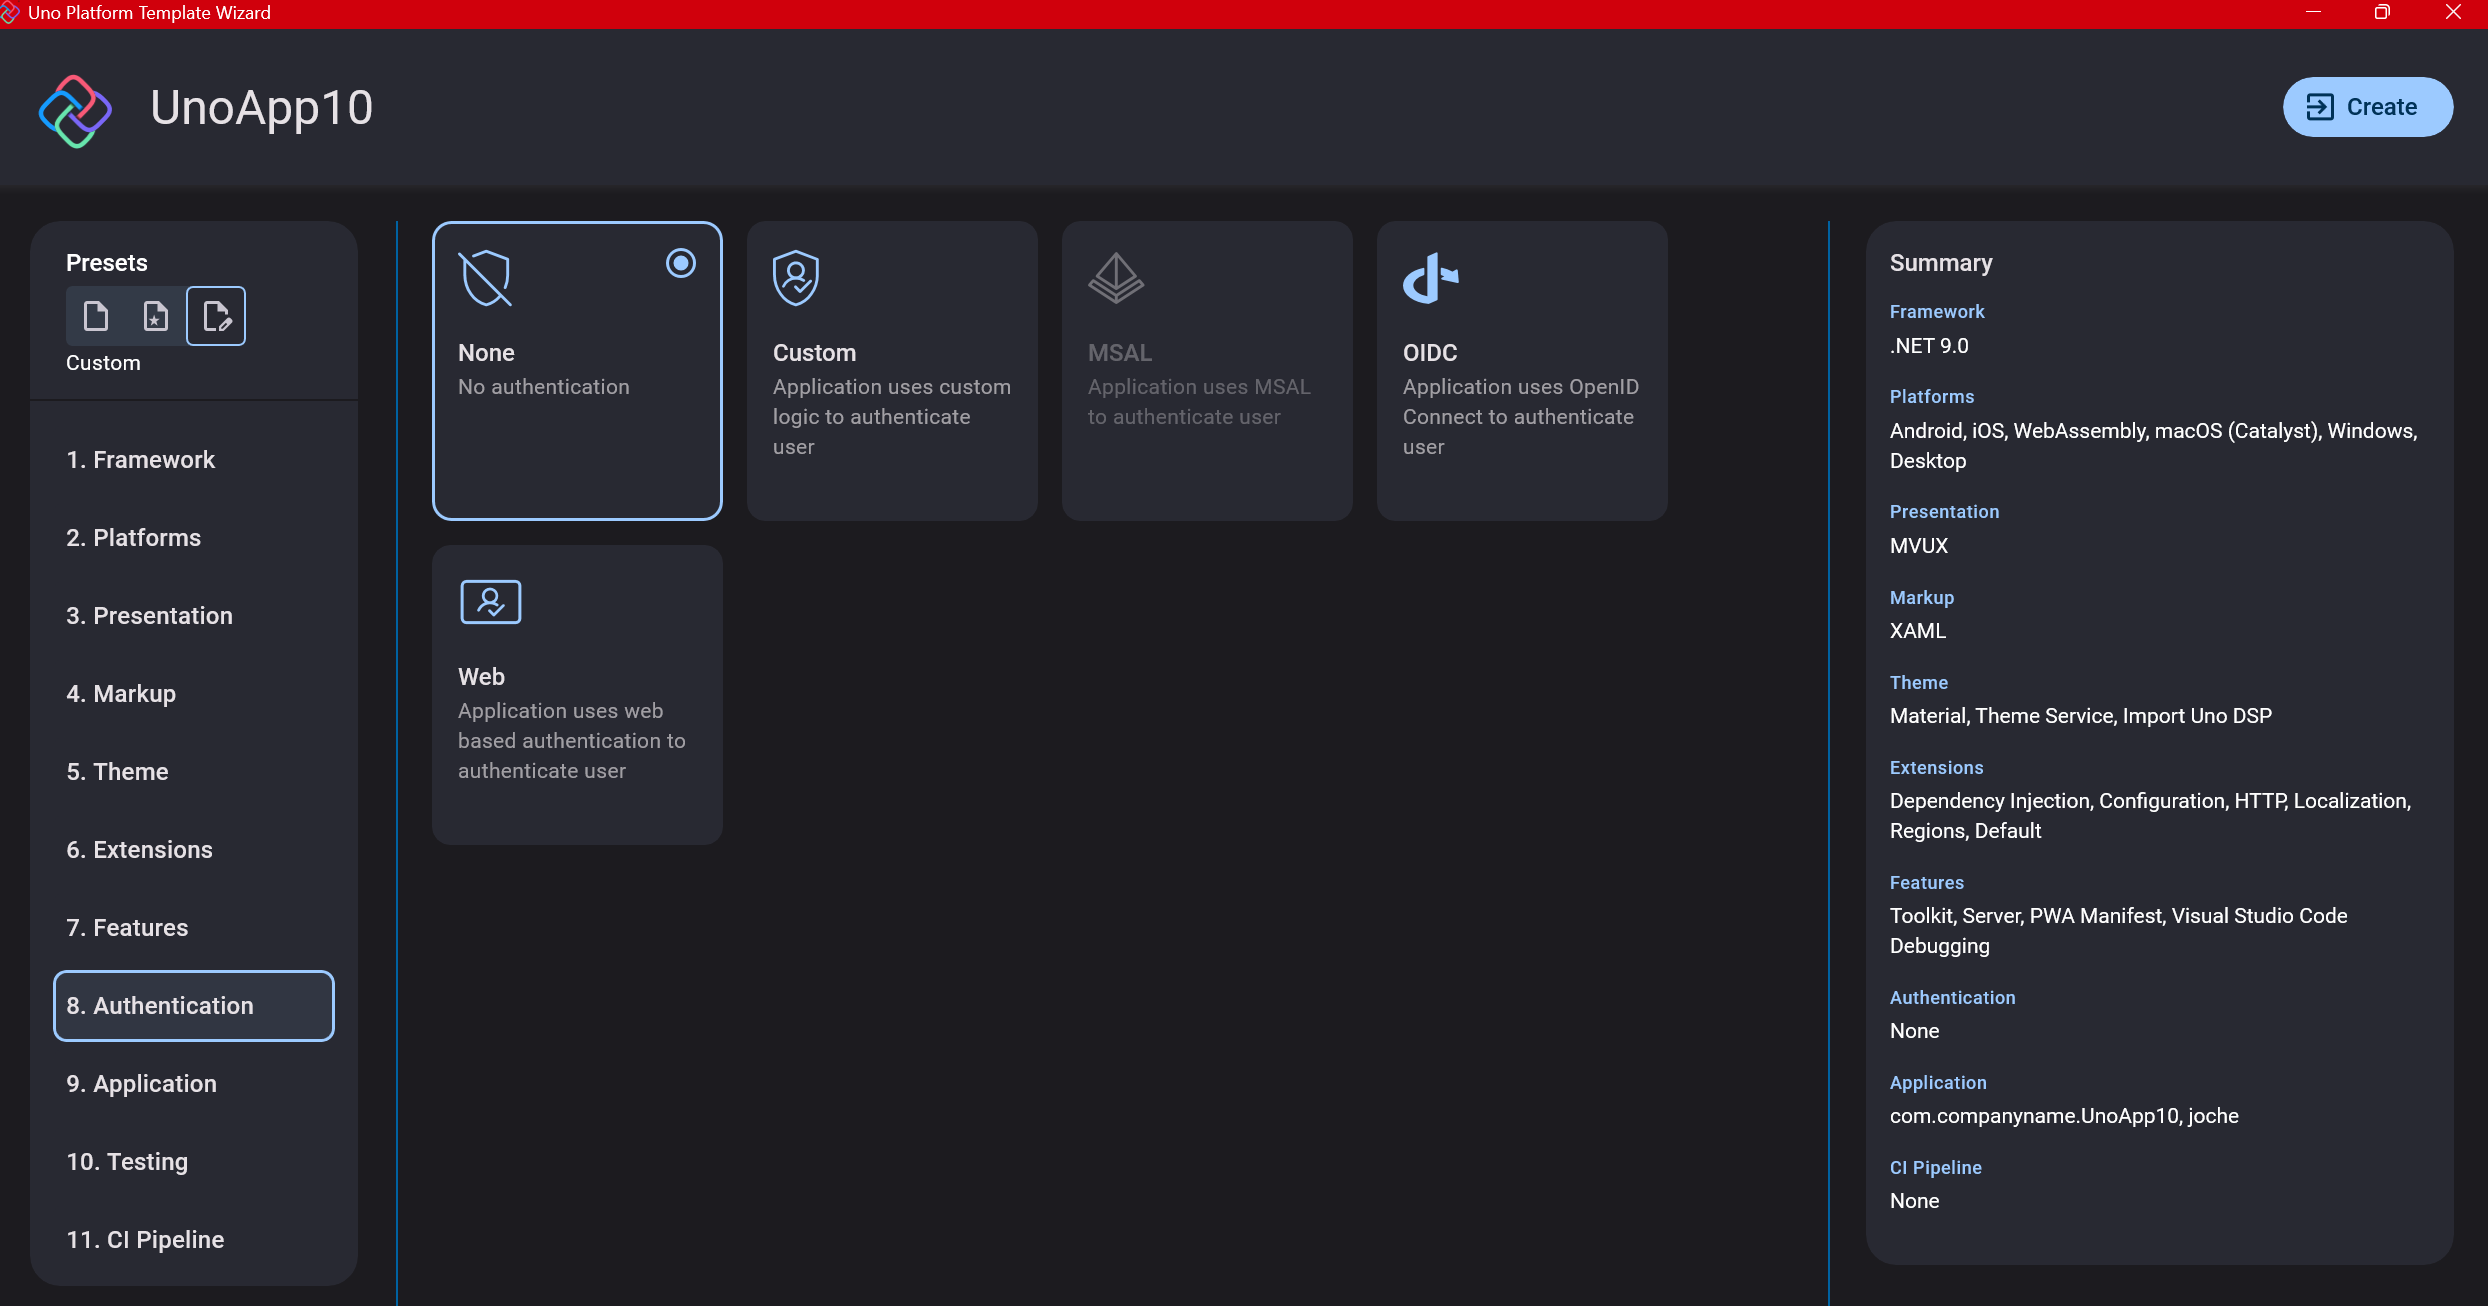
Step 10: Authentication
You can select “None” for authentication if you’re building test projects, but I chose “Custom” because I wanted to see how it works. In my case, I’m authenticating against DevExpress XAF REST API, but I’m also interested in connecting my test project to Azure B2C.
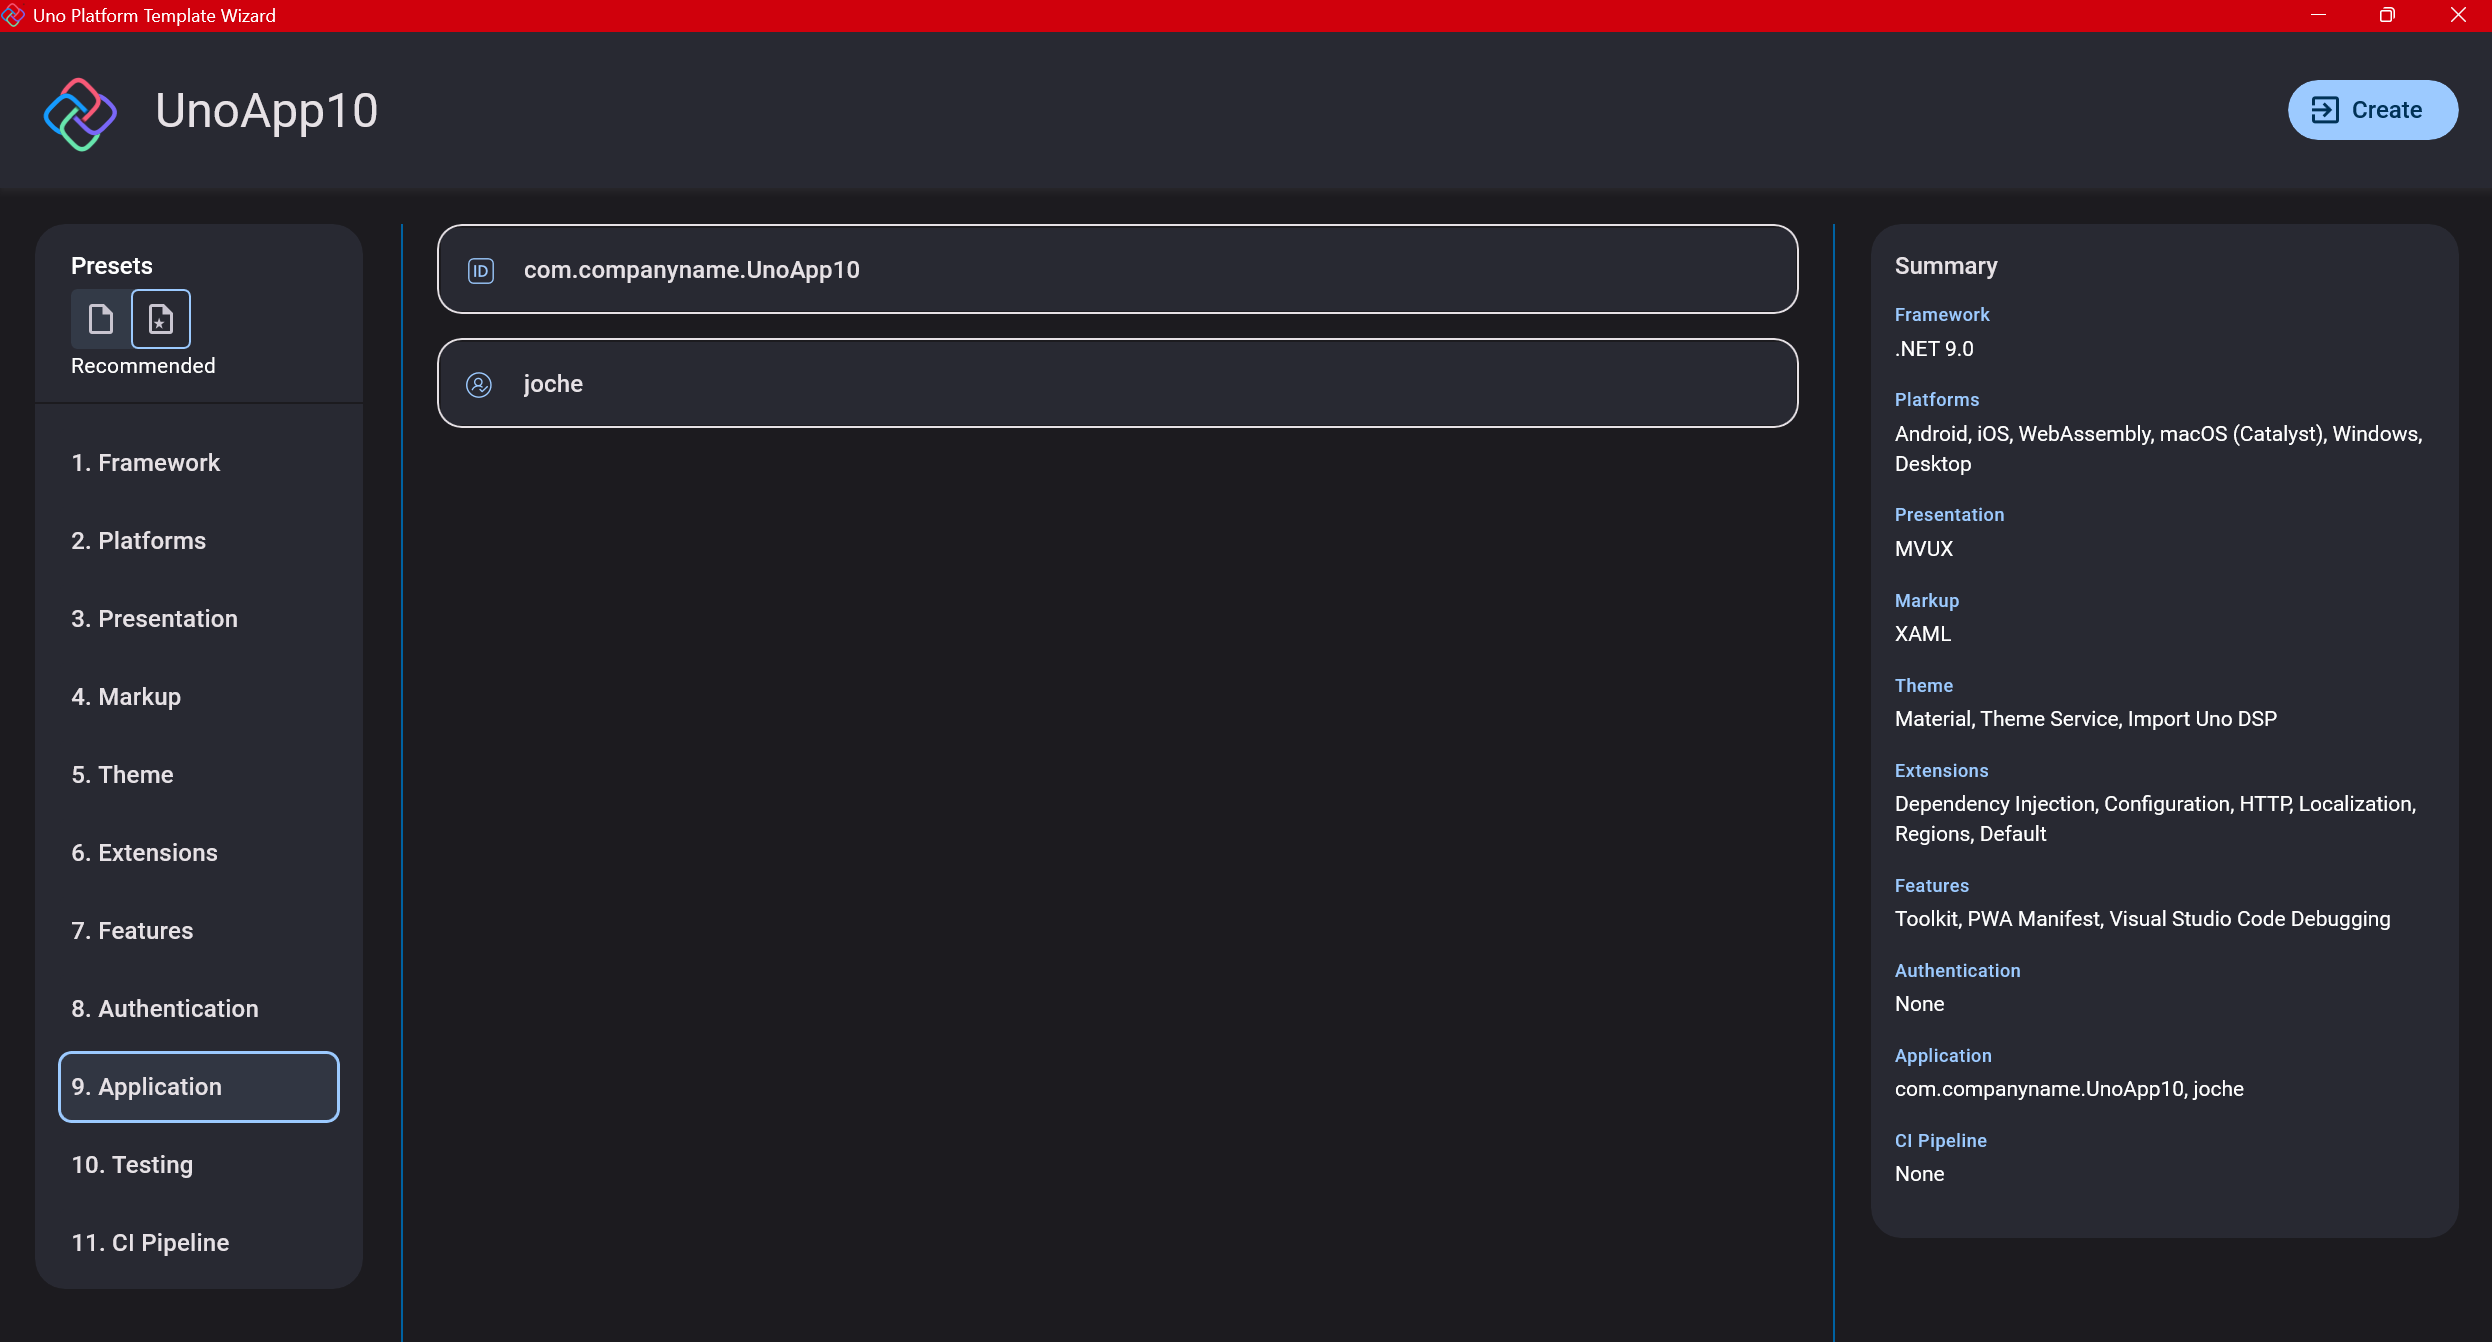
Step 11: Application ID
Next, you’ll need to provide an application ID. While I haven’t fully explored the purpose of this ID yet, I believe it’s needed when publishing applications to app stores like Google Play and the Apple App Store.
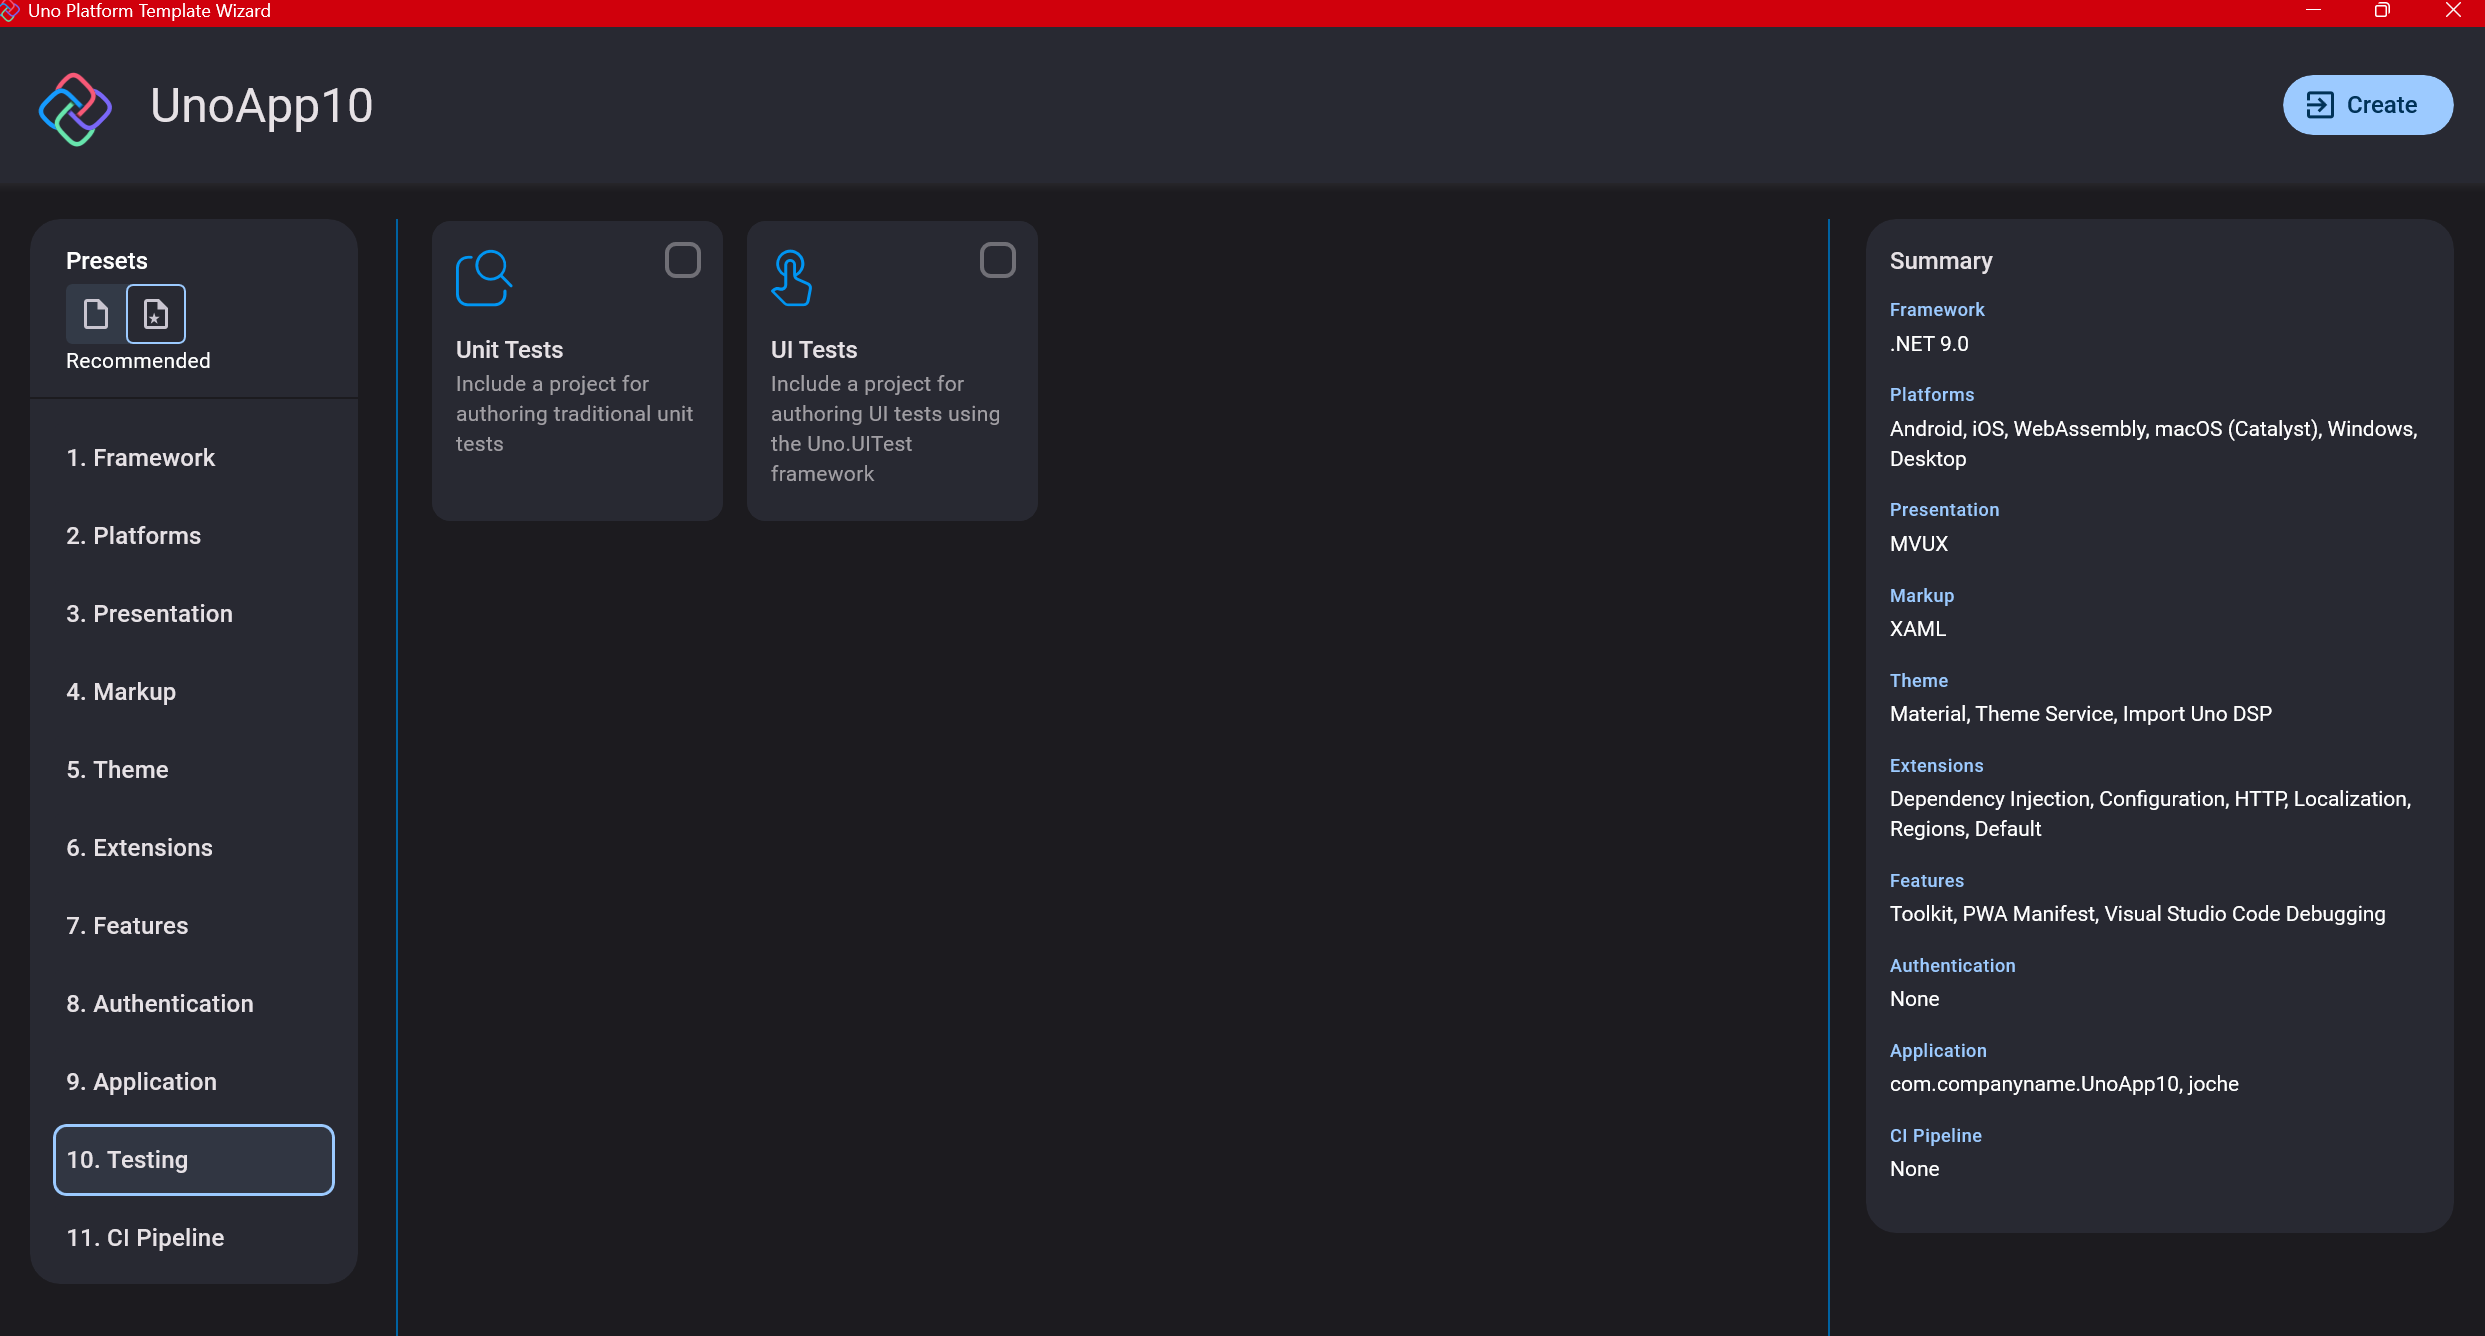
Step 12: Testing
I’m a big fan of testing, particularly integration tests. While unit tests are essential when developing components, for business applications, integration tests that verify the flow are often sufficient.
Uno also offers UI testing capabilities, which I haven’t tried yet but am looking forward to exploring. In platform UI development, there aren’t many choices for UI testing, so having something built-in is fantastic.
Testing might seem like a waste of time initially, but once you have tests in place, you’ll save time in the future. With each iteration or new release, you can run all your tests to ensure everything works correctly. The time invested in creating tests upfront pays off during maintenance and updates.
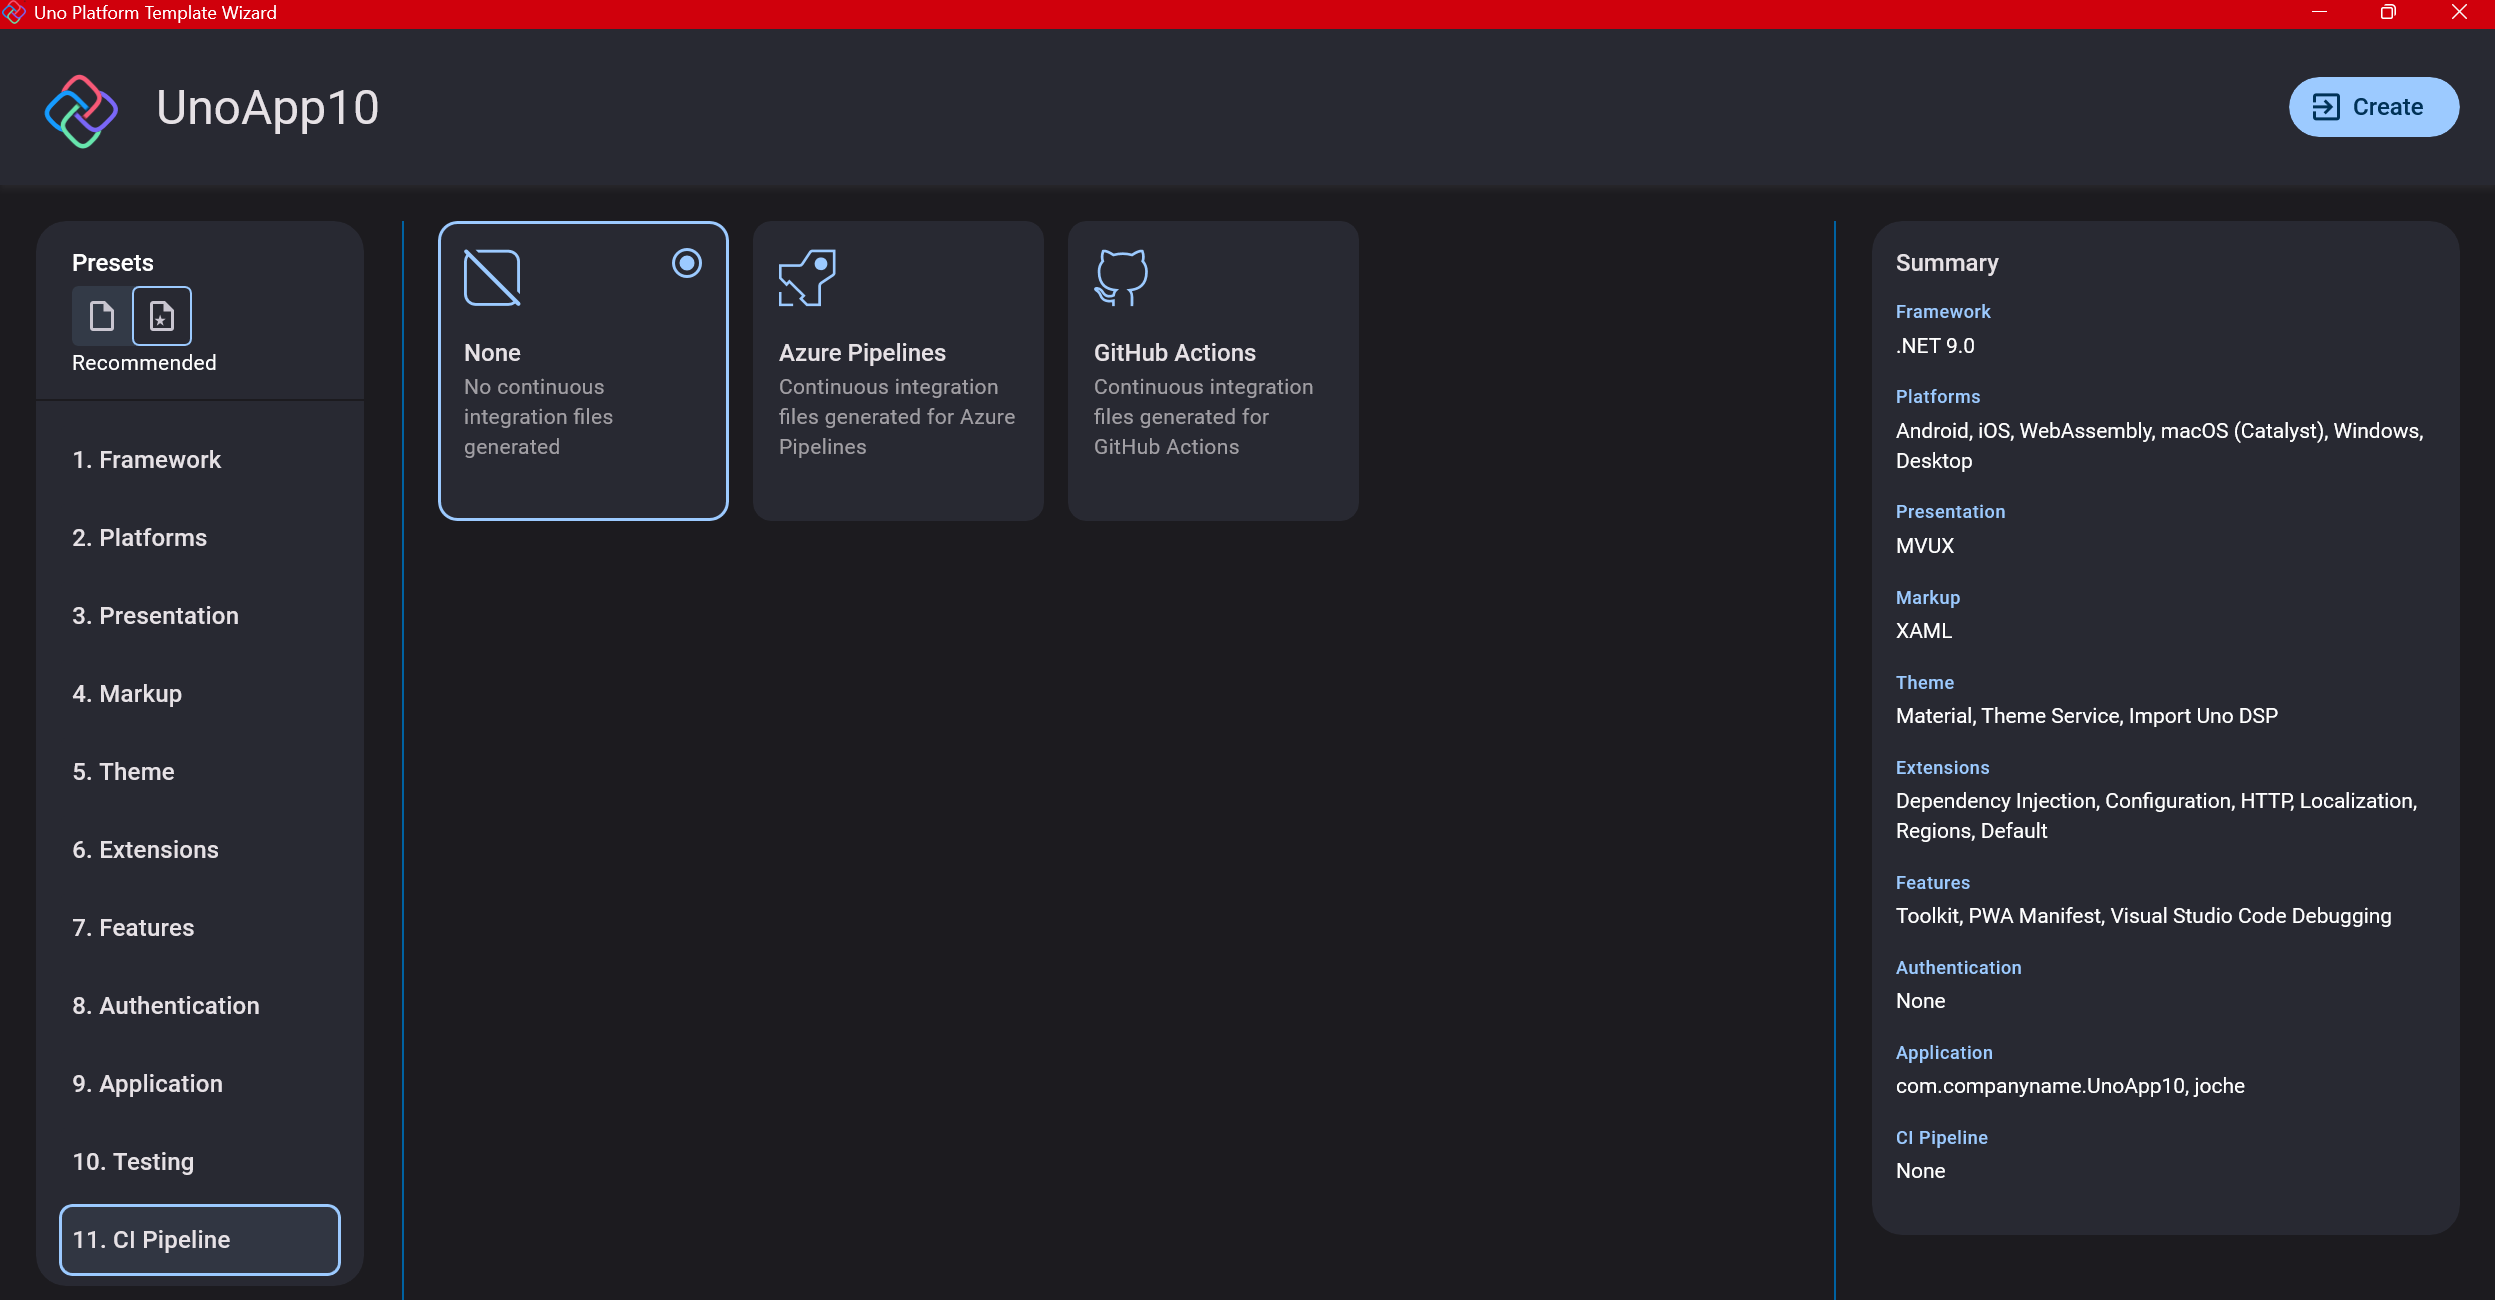
Step 13: CI Pipelines
The final step is about CI pipelines. If you’re building a test application, you don’t need to select anything. For production applications, you can choose Azure Pipelines or GitHub Actions based on your preferences. In my case, I’m not involved with CI pipeline configuration at my workplace, so I have limited experience in this area.
Conclusion
If you’ve made it this far, congratulations! You should now have a shiny new Uno Platform application in your IDE.
This post only covers the initial setup choices when creating a new Uno application. Your development path will differ based on the selections you’ve made, which can significantly impact how you write your code. Choose wisely and experiment with different combinations to see what works best for your needs.
During my learning journey with the Uno Platform, I’ve tried various settings—some worked well, others didn’t, but most will function if you understand what you’re doing. I’m still learning and taking a hands-on approach, relying on trial and error, occasional documentation checks, and GitHub Copilot assistance.
Thanks for reading and see you in the next post!
About Us
YouTube
https://www.youtube.com/c/JocheOjedaXAFXAMARINC
Our sites
Let’s discuss your XAF
https://www.udemy.com/course/microsoft-ai-extensions/
Our free A.I courses on Udemy
- Introduction to Microsoft A.I Extensions
https://www.udemy.com/course/microsoft-ai-extensions/ - Introduction to Microsoft Semantic Kernel
https://www.udemy.com/course/semantic-kernel